


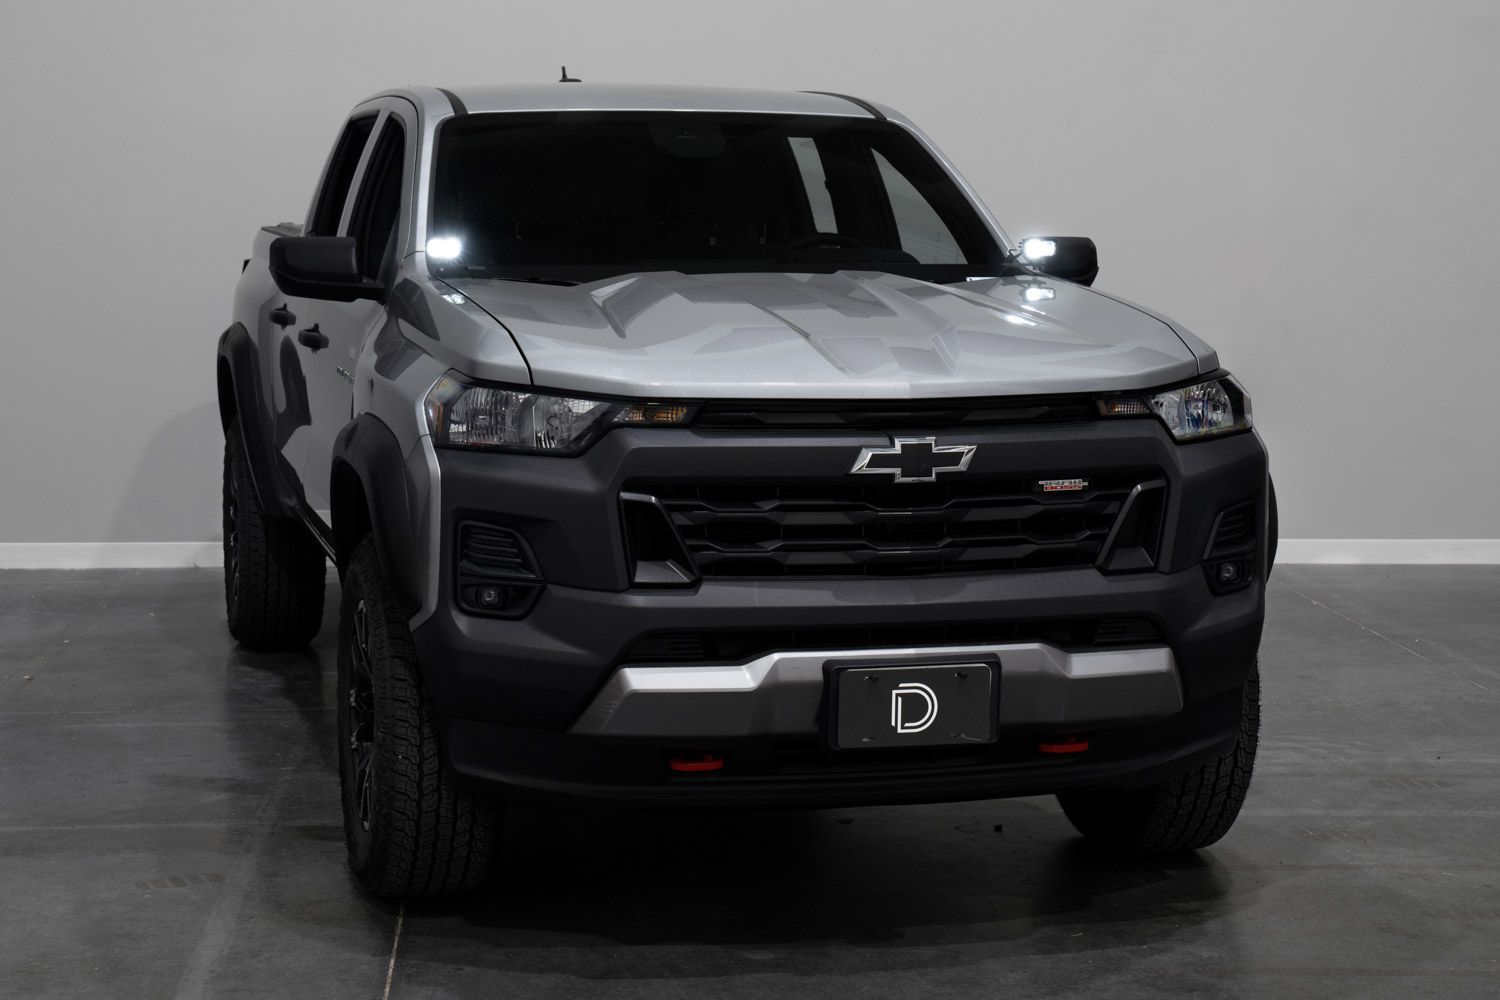
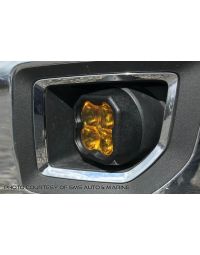
The Stage Series Backlit Ditch Light Kit for 2023+ Chevrolet Colorado allows you to easily mount two SSC2 or SS3 Backlit Pods above the hood. These application-specific brackets were CAD-designed to install using factory mounting points. No cutting or drilling is required! This kit features a low-profile design while minimizing glare, and will not interfere with raising or lowering the hood. Check out the installation video and continue reading for step-by-step instructions below!
Table of Contents
Installation Video
Installation Tools
- Masking Tape
- 13mm Socket
- 10mm Socket
- 1/2" Wrench
- 3/8" Wrench
- 5/32" Allen
Mounting Instructions
Step 1 - Mark Hood Hinge With Tape
Open the hood and mark the location of the hood hinges with tape, and tape the edges of the hood to prevent scratching.
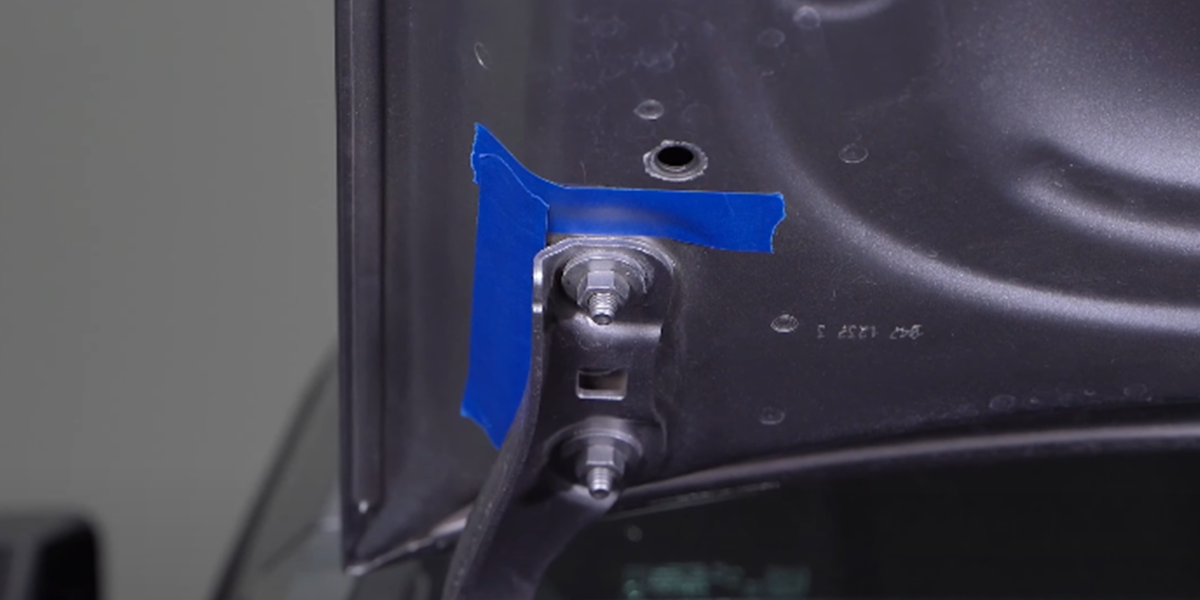
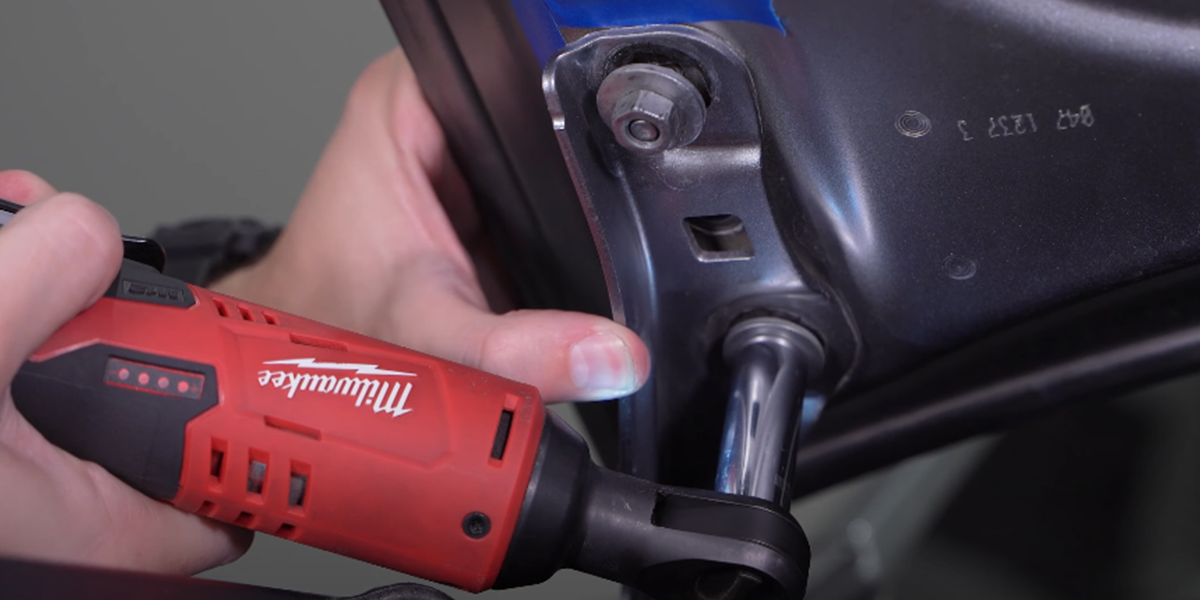
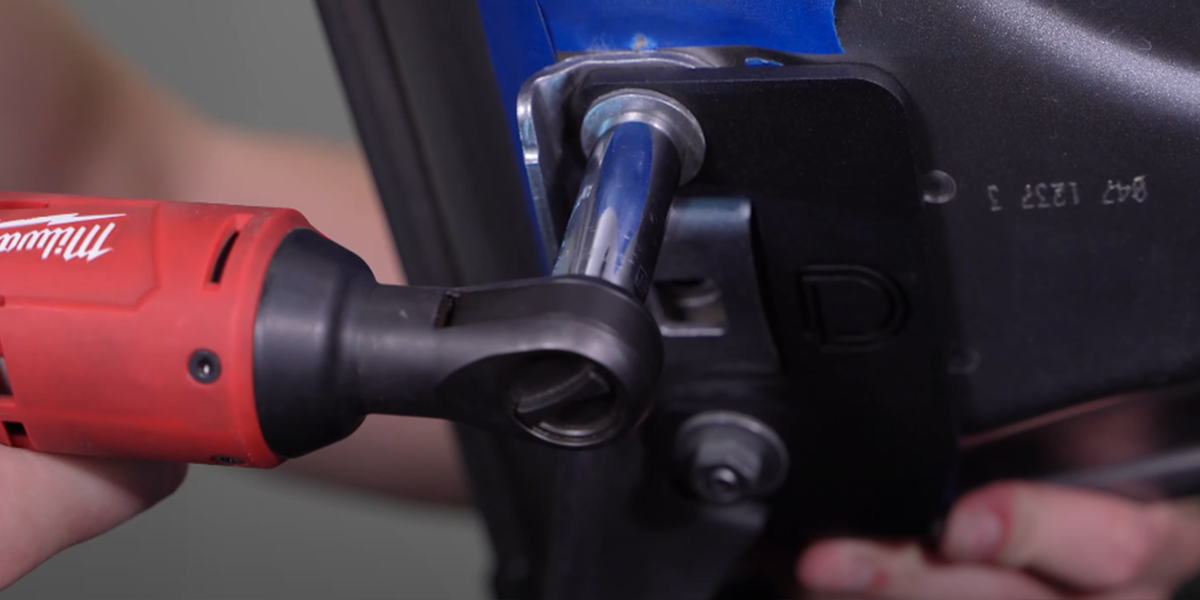
Step 2 - Remove Factory Hood Bolts
Loosen the two (2) 13mm bolts securing the hood hinge, while holding the back of the hood.
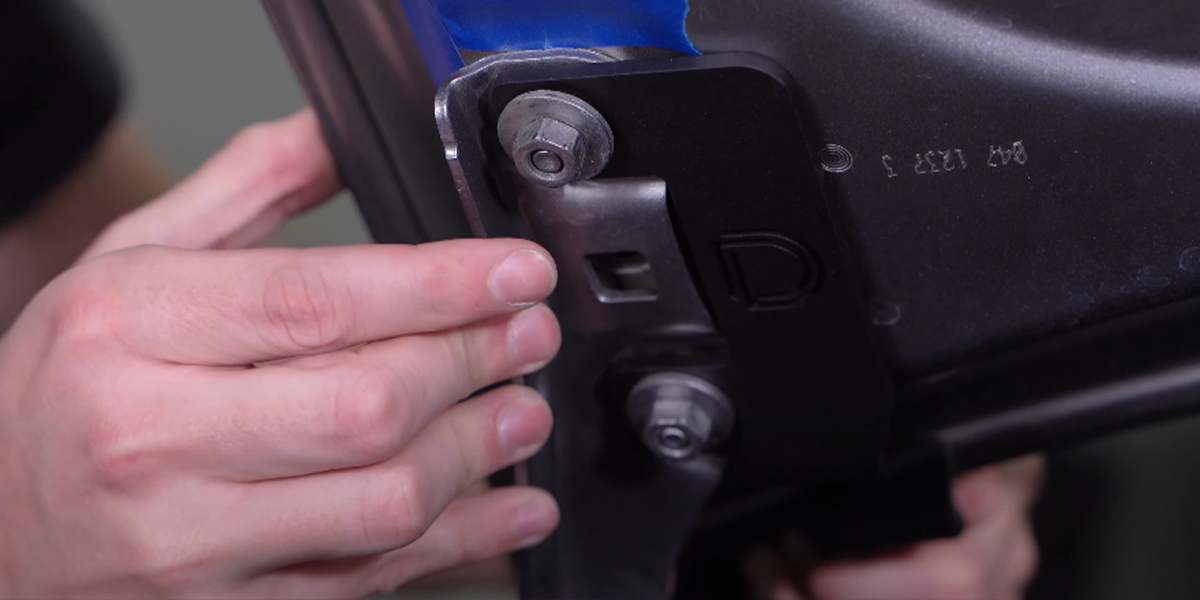
Step 3 - Place Ditch Light Bracket
Place the ditch light bracket under the hinge and align the holes with the hood hinge. Adjust the bracket to leave a slight gap at the back of the hood before tightening.
Step 4 - Secure Bracket and Hood Hinge
Secure the bracket and hood hinge using the original bolts, ensuring that the hood hinge lines up with the tape where you marked it.
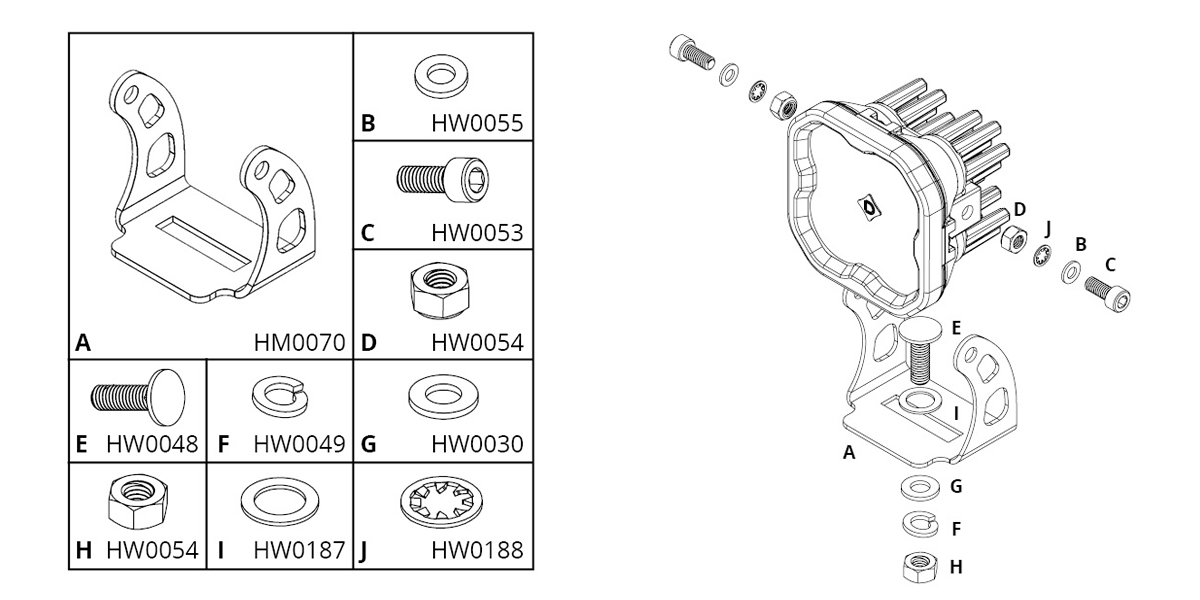
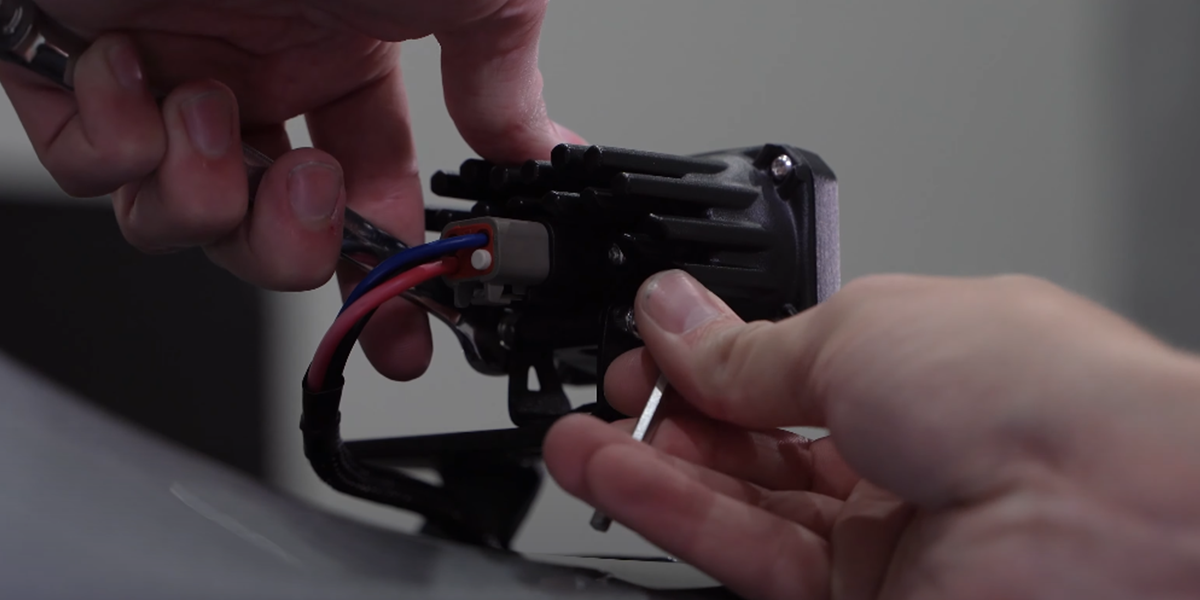
Step 5 - Assembling Stage Series LED Pods
Since this kit is offered with our SSC2 or SS3 LED Pods, the assembly process will vary.
Please refer to the assembly guides provided below:
Assembly Guide | SSC2 LED Pods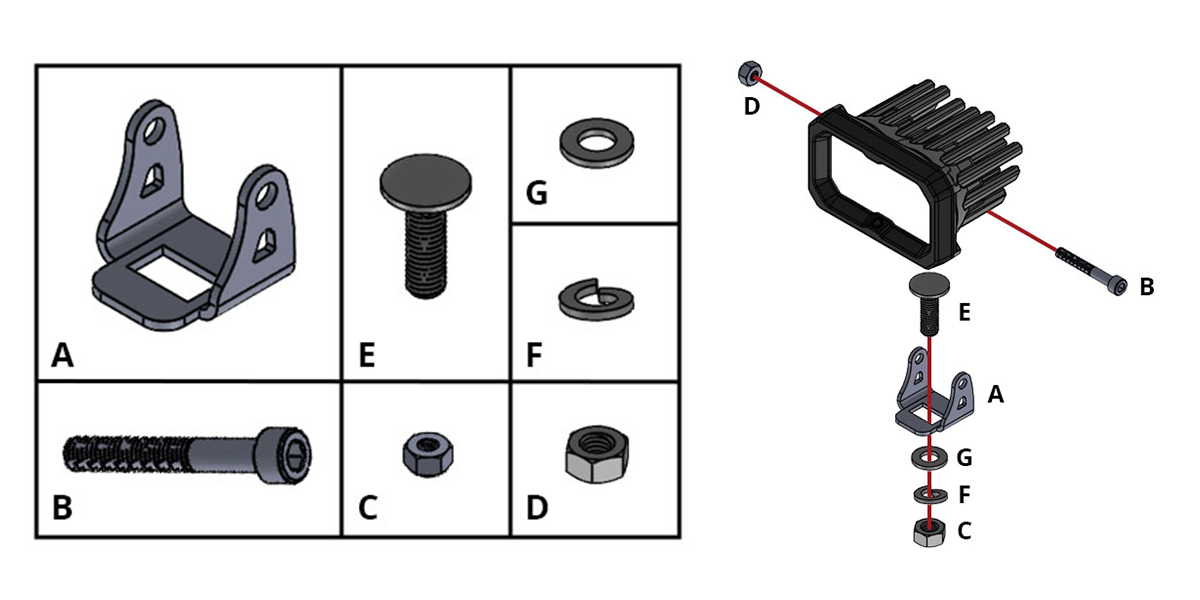
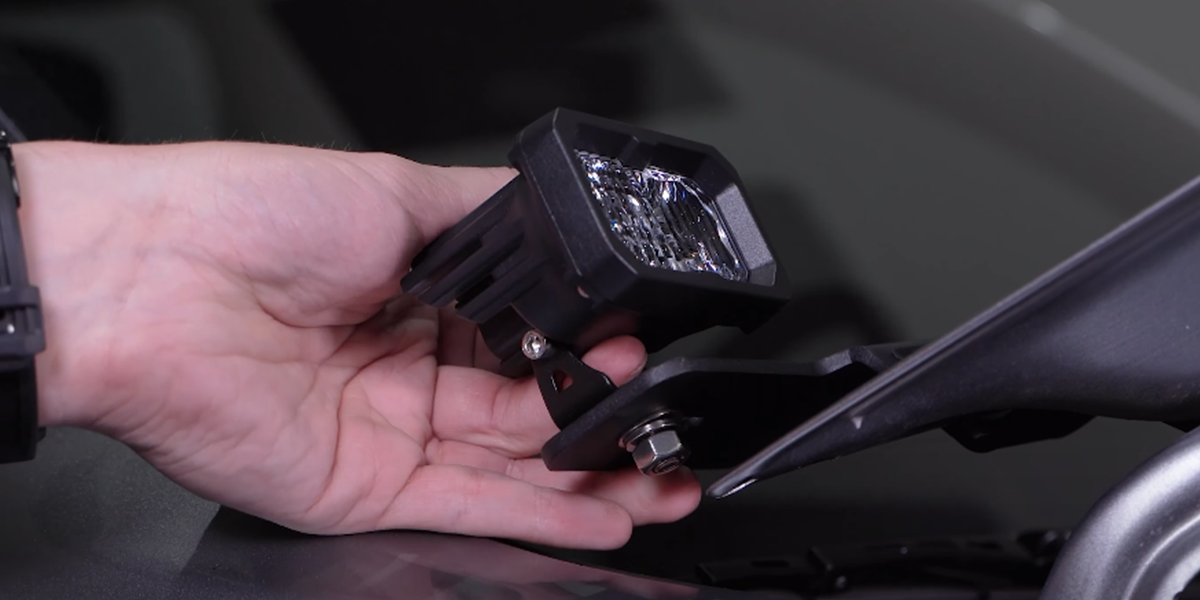
Step 6 - Mounting Stage Series LED Pods
Place the assembled Stage Series LED pod on top of the ditch light bracket. Then, feed the carriage bolt through the universal bracket and ditch the light bracket followed by the washer, lock washer, and nut underneath, and tighten it only hand tight to leave room for adjustment later.
Wiring Instructions
Step 7 - Connecting Ground/Power Wires (Red/Black)
Taking a 10mm socket, locate the battery and loosen the nut on the negative terminal to slide our black wire underneath and secure it in place. Repeat the same steps for the positive terminal by loosening the nut to slide our red wire underneath and securing it.

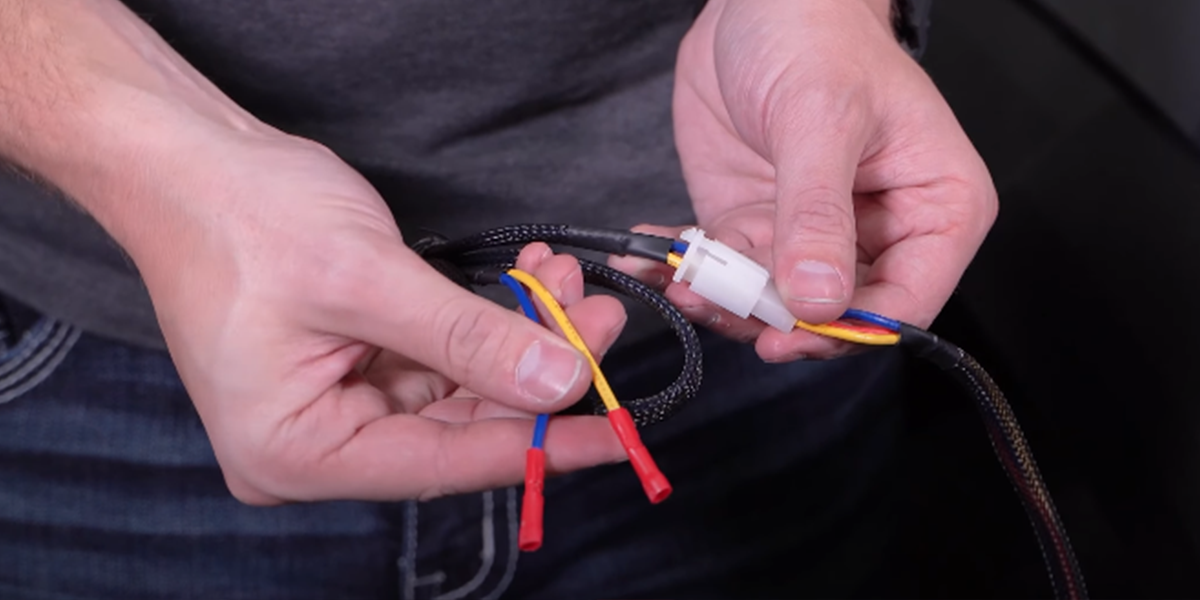
Step 8 - Routing Toggle Switch / Auxillary Adaptor
Route our switch through the firewall, into the cab, and mount it to the location of your choice. However, if you do have an aftermarket switch bank, you can disconnect the included toggle and plug in-line our auxiliary adaptors.
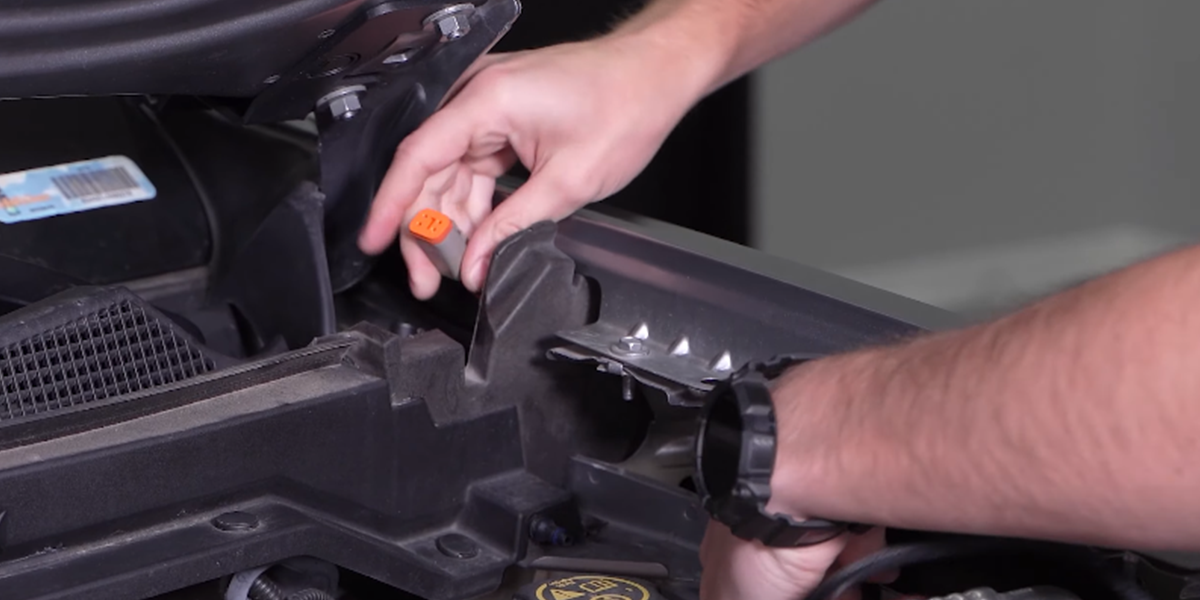
Step 9 - Routing DT Connectors
Route one DT connectors to the passenger's side of the vehicle through the fender bracing, up under the hood, and into the back of our pods.

For the driver's side, we'll route the other DT connector across the engine bay away from any hot or moving parts, through the fender bracing, up under the hood, and into the back of our pods.
Step 10 - Testing For Function
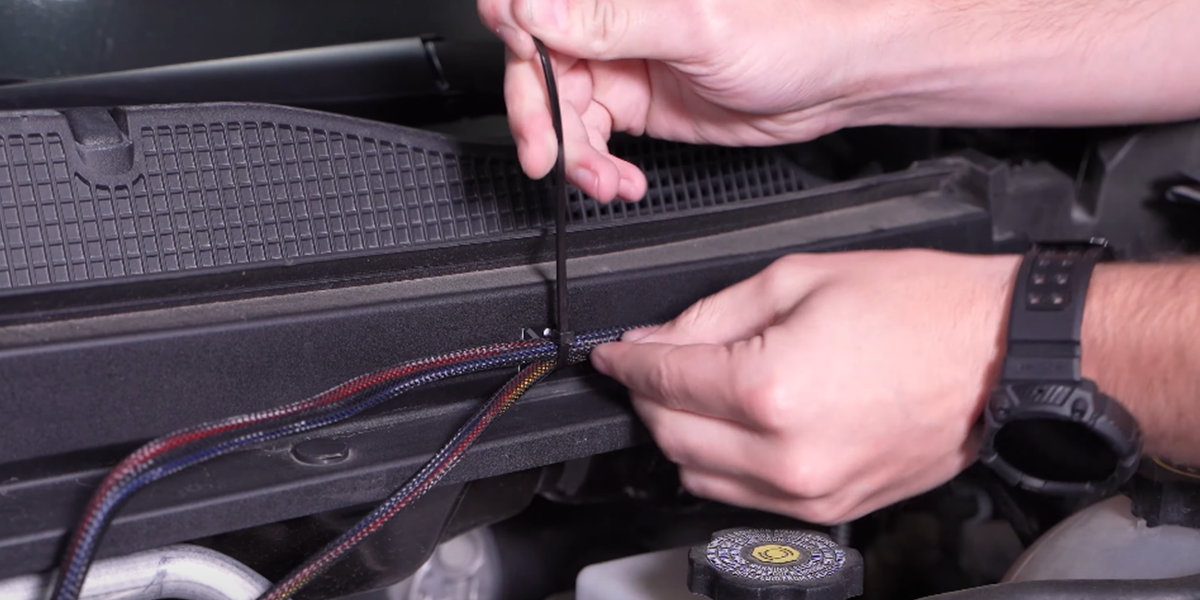
Plug your DT connectors into both pods, test for function using the included toggle, and ensure the backlight illuminates along with the main beam.
Secure any loose wiring away from hot or moving parts using the zip ties included with our kit.
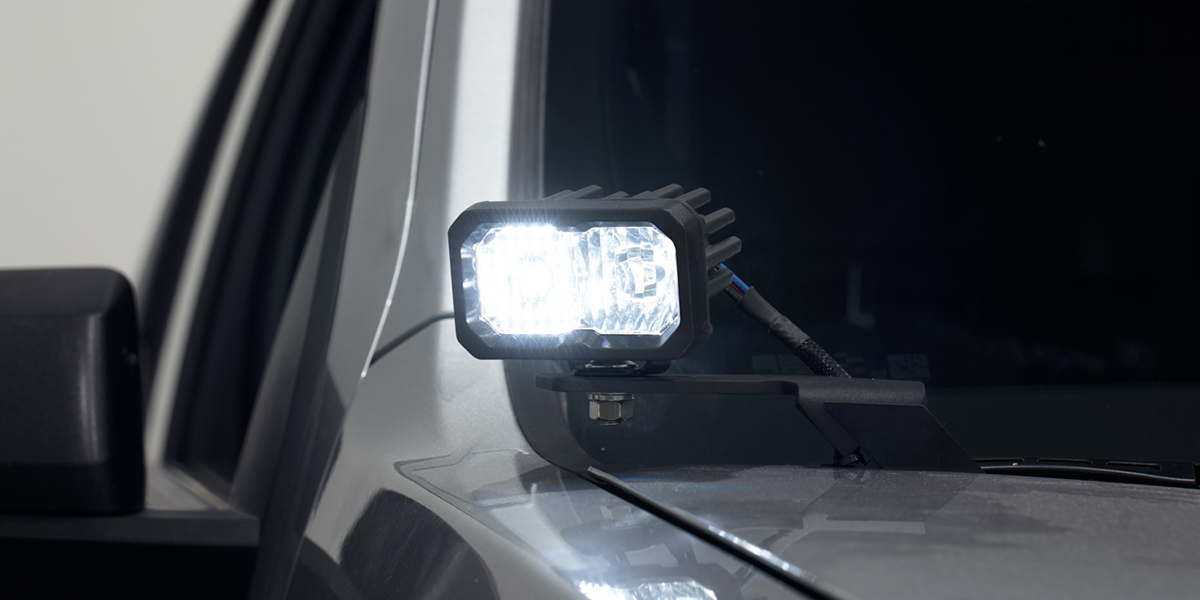
Step 11 - Aiming Stage Series LED Pods
Rotate our pods left and right and tighten them down using a 1/2" wrench. Tilt the pod up and down and secure it using a 3/8" wrench and 5/32" allen.
The installation is now complete. Enjoy your 2023+ Chevy Colorado Stage Series Backlit LED Ditch Light Kit!
Questions About the Installation?
If you have any questions or issues installing the 2023+ Chevy Colorado Stage Series Backlit LED Ditch Light Kit, please contact us for further assistance.
Where Can I Buy a 2023+ Chevy Colorado Stage Series Backlit LED Ditch Light Kit?
If you’re ready to upgrade your 2023+ Chevy Colorado with a Stage Series Ditch Light Kit, you can purchase one by clicking here or using our dealer locator to find a dealer near you.
Want to know more about Diode Dynamics products? Visit DiodeDynamics.com and subscribe to our newsletter for new product releases and more!
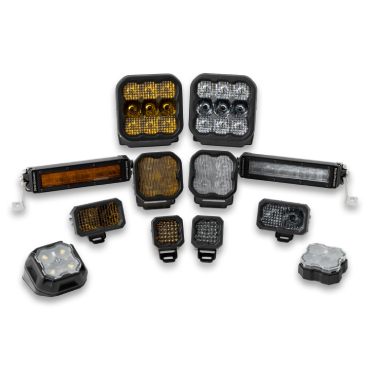
This Installation Guide is for the following SKUs: DD7806P, DD7807, DD7809, DD7811, DD7813, DD7808, DD7810, DD7812, DD7814


Share This Post