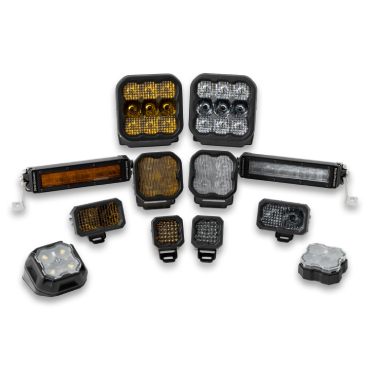


Looking to improve visibility on your Honda Talon? Our Stage Series LED Grille Kit is an easy way to add high-performance lighting to your UTV. This direct-fit kit seamlessly mounts into your factory grille for a clean, custom look with serious off-road performance. Watch our installation video or continue reading below for detailed instructions!
Table of Contents
Installation Video
Tools Required
- Flathead screwdriver
- Trim removal tool
- 10mm socket & wrench
- 5mm Allen wrench
- 4mm Allen wrench
- Phillips head screwdriver
- Zip ties (for wire management)
Installation Instructions
Step 1 - Remove the Hood and Front Components
Twist the hood latches and lift up on the corners to remove the hood. Then, disconnect the headlight harness by pressing the locking clip and pulling the connector away.
Step 2 - Remove the Cowl and Bumper
At the cowl, remove four plastic clips, four 10mm bolts, and five 5mm Allen bolts. Then, detach the cowl and set it aside.
Use a 10mm socket to remove four 10mm bolts securing the headlights. On each headlight, remove the outer plastic clip and a 5mm bolt from the headlight shroud. Then, detach two additional plastic clips—one behind the headlight bucket and one in the inside corner of the headlight shroud.
Next, use a 10mm wrench to remove the 10mm bolt from the side of the bumper. Remove two plastic clips from the skid plate using a flathead screwdriver or trim tool. Lift up on the fenders and pull the bumper forward to remove it.
Step 3 - Assemble the Stage Series Pods and Grille Bracket
Attach the included bracket to each SS3 LED Pod using the supplied hardware. Secure the pod to the bracket by dropping in the carriage bolt, then tightening the washers, lock washers, and nuts with a 13mm wrench. Repeat these steps for the other pod.
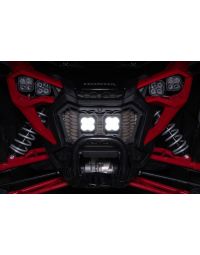
Step 4 - Install the Grille Bracket
Pull firmly on the corners of the factory grille to release the ball clips and remove it. Align the bottom tabs of the Stage Series bracket with the slots on the bumper and set it in place.
Install the provided bolts and nuts in the two top holes of the grille, leaving them hand-tight. Flip the bumper over and use a Phillips screwdriver to install the eight self-tapping screws.
Step 5 - Wiring and Final Assembly
Plug the included DT splitter into the back of each SS3 pod. Temporarily reattach the bumper, ensuring that the DT splitter is routed near the top of the radiator.
Step 6 - Connect the Wiring Harness
Remove the driver’s and passenger’s seat bottoms. Route the wiring through the firewall, avoiding hot or moving parts. Connect the positive and negative leads at the battery.
Step 7 - Test and Reassemble
Turn on the lights to test functionality. Secure any loose wiring with zip ties. Reinstall the bumper, grille, and interior components.
The installation is now complete. Enjoy your new Stage Series LED Grille Kit!
Questions About the Installation?
If you have any questions about installing the Stage Series LED Grille Kit for the 2022-2024 Honda Talon, contact us via our support page.
Where Can I Buy the Stage Series LED Grille Kit for the 2022-2024 Honda Talon?
If you're ready to upgrade your 2022-2024 Honda Talon with the Stage Series LED Grille Kit, visit DiodeDynamics.com or use our Dealer Locator to find a dealer near you.
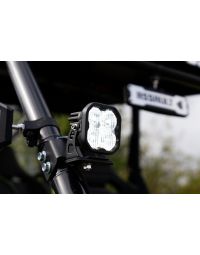
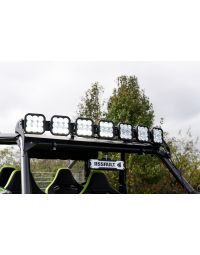
Looking for more lighting options for your Talon? Check out our full selection of Honda Talon Lighting Upgrades.
Want to know more about Diode Dynamics products? Visit DiodeDynamics.com and subscribe to our newsletter for new product releases and more!
This Installation Guide is for the following SKU: DD7899, DD7903, DD7900, DD7904, DD7901, DD7905, DD7902, DD7906, DD7898

Share This Post