The SSC2 Chase Light Kit and SSC2 Reverse Light Kit for the 2017-2025 Can-Am Maverick X3 offer improved lighting performance and functionality for off-road enthusiasts. The Chase Light Kit adds two SSC2 LED pods as rear-facing lights, providing enhanced visibility for drivers behind you in dusty, foggy, or low-light conditions. The Reverse Light Kit delivers a powerful white reverse light with a red accent running light, ensuring safety and style when backing up.
Both kits are bolt-on and plug-and-play, designed to integrate seamlessly with your Can-Am Maverick X3. Featuring durable stainless steel brackets and versatile SSC2 LED pods with amber backlights, these kits are engineered to withstand harsh conditions and off-road adventures.
The installation process for both kits is identical, making it easy to customize your vehicle with the lighting option that best suits your needs. The following guide provides step-by-step instructions to help you install the SSC2 Chase Light Kit or Reverse Light Kit. Watch our installation video or continue reading for detailed instructions below!
Installation Video
Installation Tools
- 5mm Allen key
- 10mm wrench
- 10mm socket
- 13mm wrench
- 18mm ratchet
- 5/32-inch Allen wrench
- 3/8-inch wrench
- T30 Torx bit
- Trim removal tool
Installation Instructions
Step 1 - Install the Roller Mounts
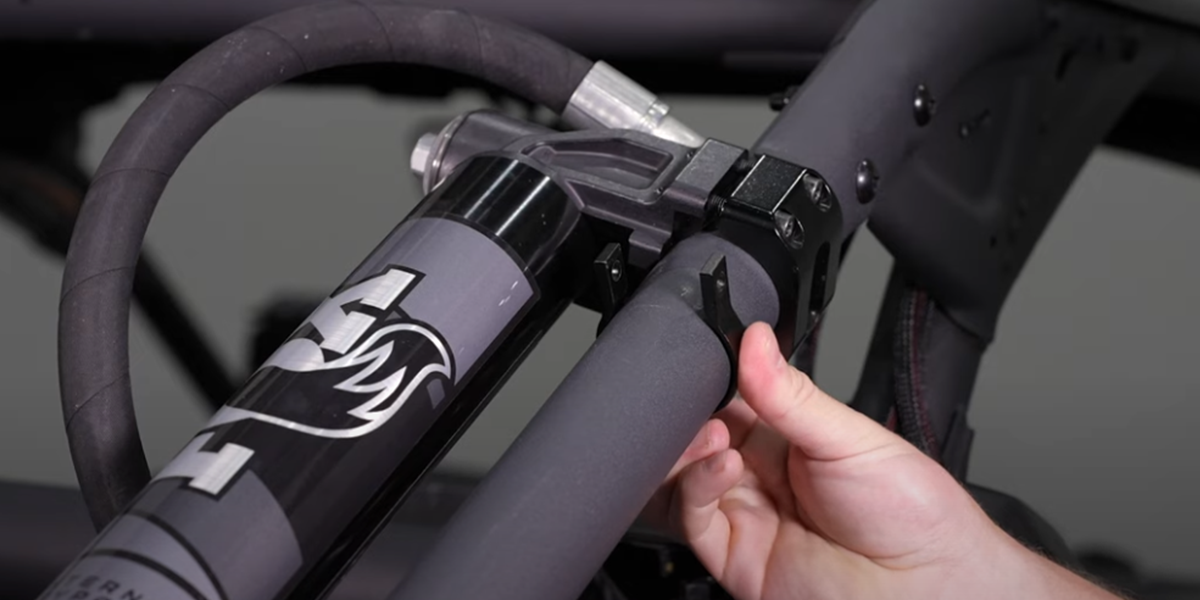
Slide the roll bar mount over the roll cage and secure the mounting platform by running the included bolt, washer, and locking nut through the mount.
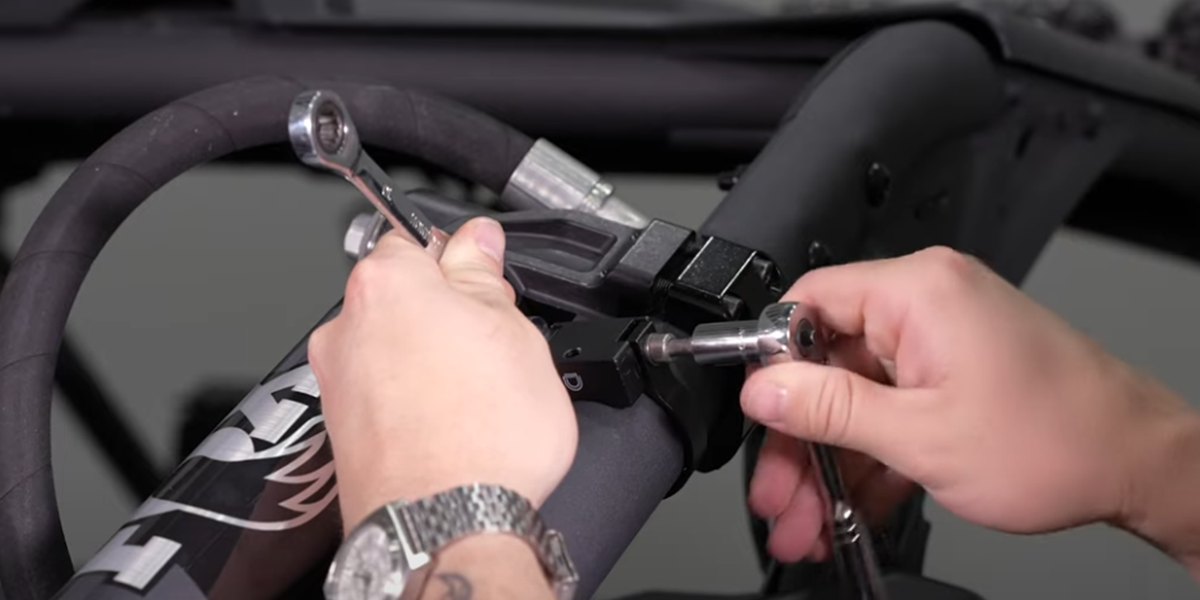
Align the block at the center of the roller and use a 5mm Allen key and 10mm wrench to tighten it securely.
Step 2 - Attach the Universal Brackets
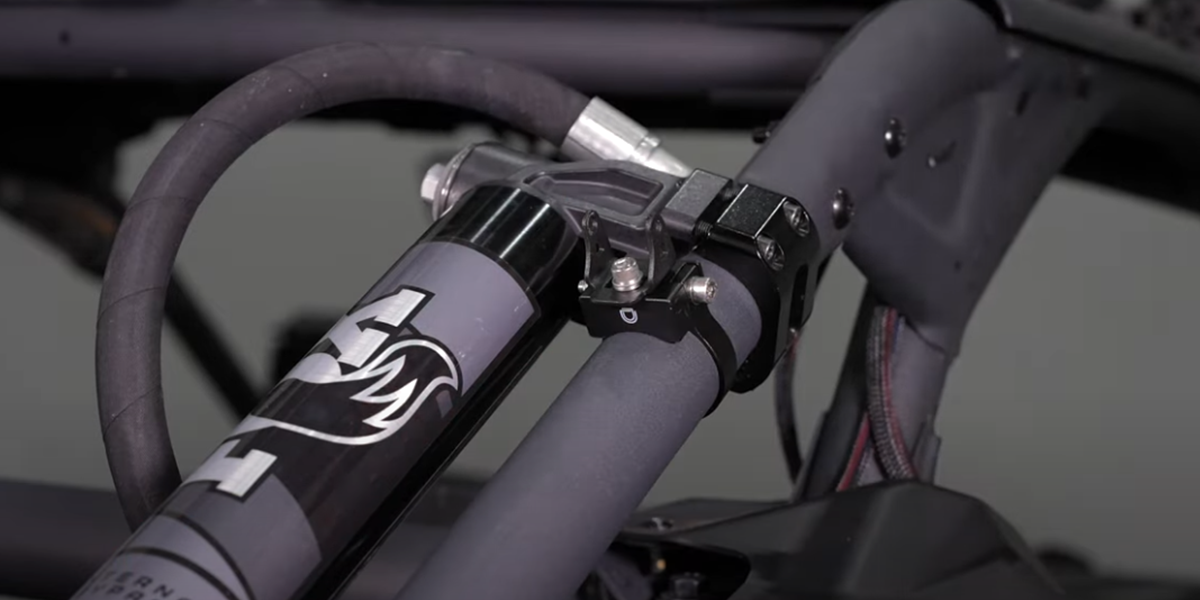
Bolt the universal SSC2 U-bracket onto the roller mount using the included washer and bolt.
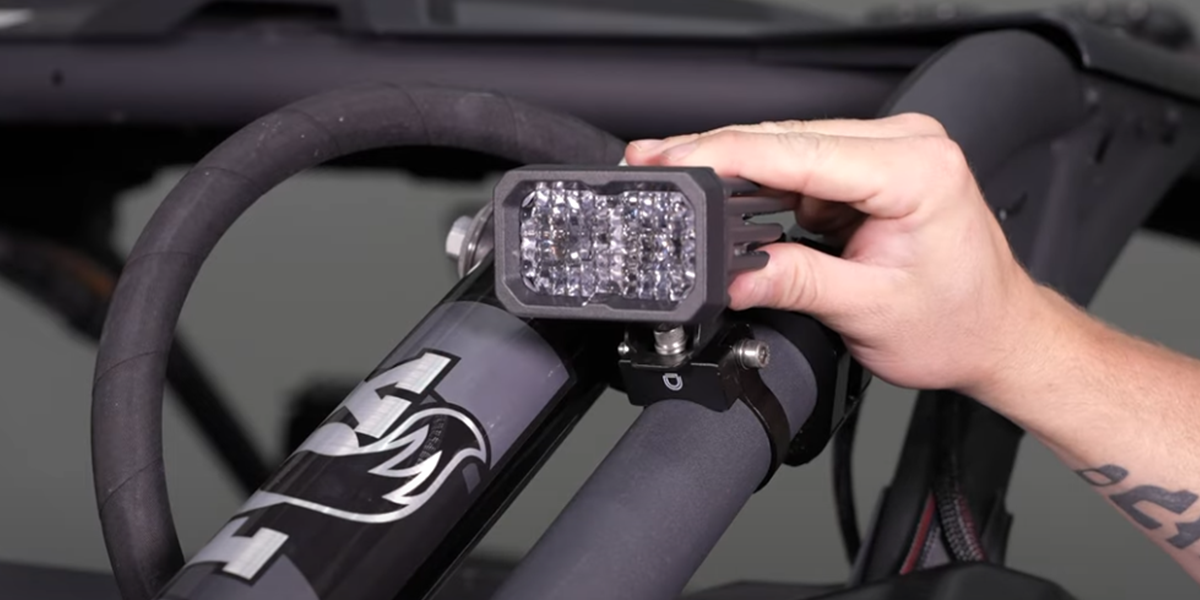
Once secured, attach the SSC2 LED pods to the universal bracket. Insert the supplied bolts and locking nuts and tighten them using a 5/32-inch Allen wrench and 3/8-inch wrench. Repeat this process for the second pod on the opposite side.
Step 3 - Prepare the Vehicle Interior
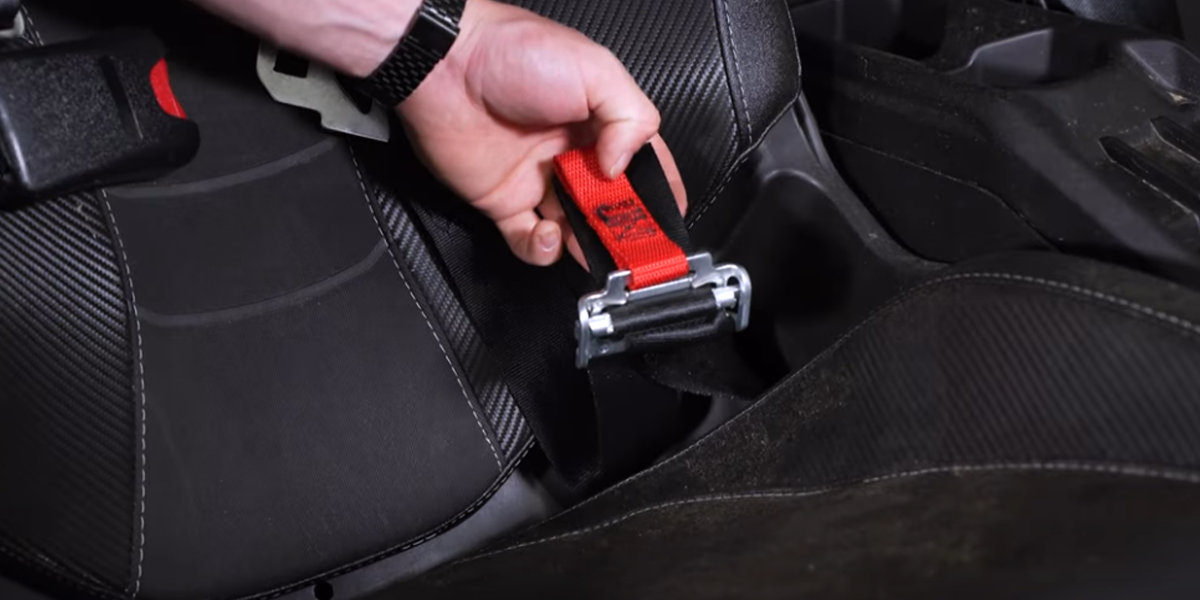
Inside the vehicle, disconnect the passenger seat belt harness by pulling the loop end through and out.
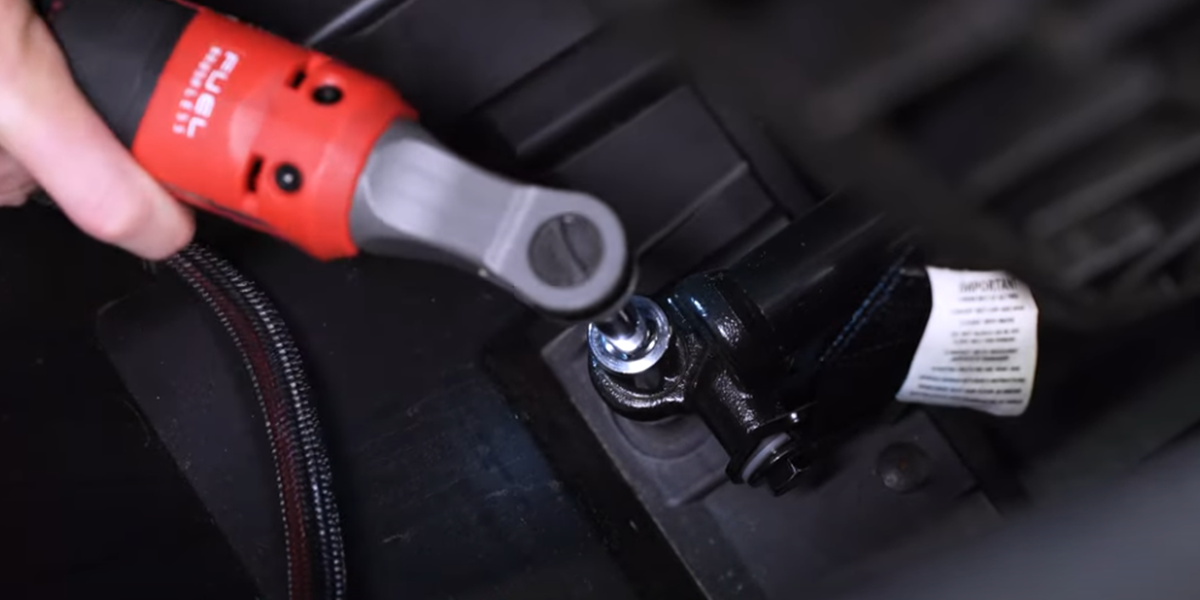
Adjust the seat forward and use an 18mm ratchet to remove the two gold locking nuts behind the seat.
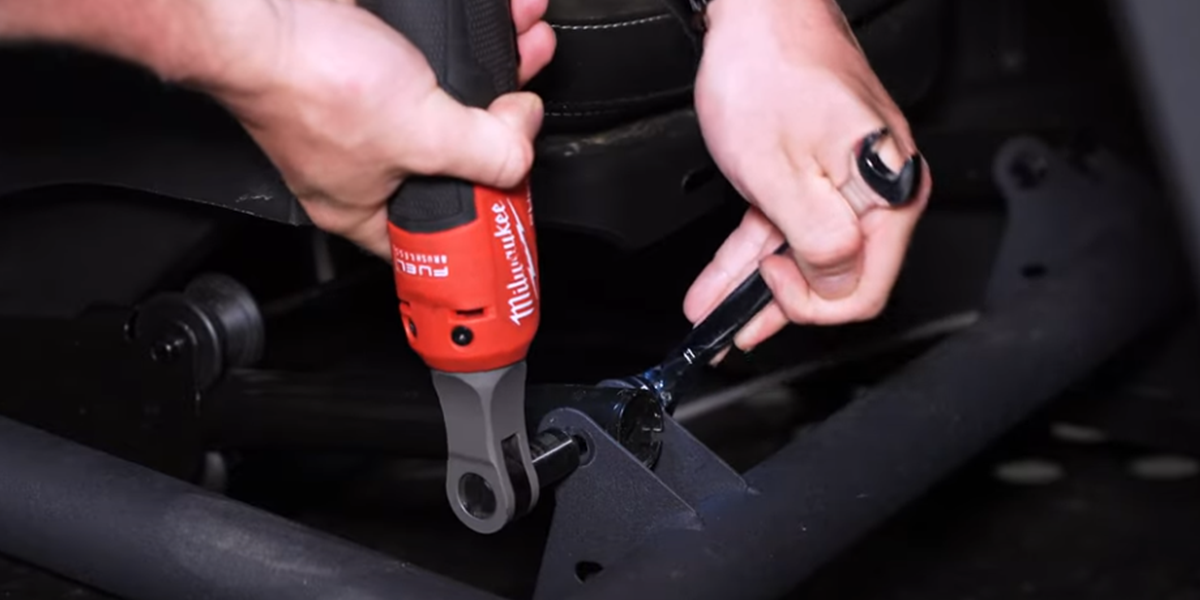
Adjust the seat all the way back and use a 13mm wrench and ratchet to remove the two front mounting bolts. Once removed, lift the seat out and set it aside.
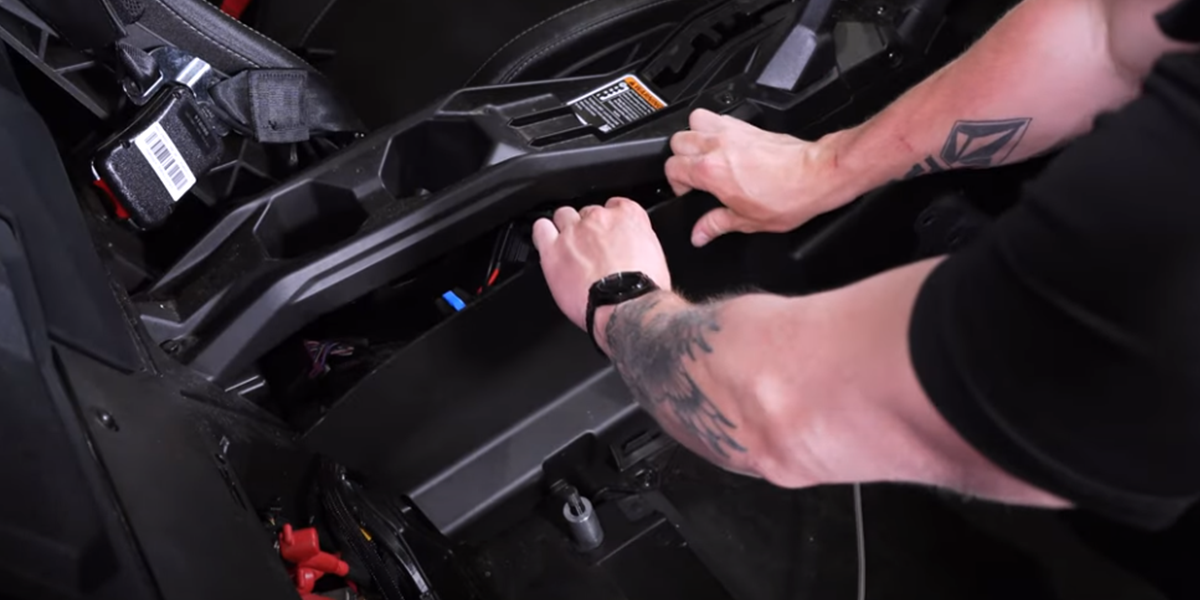
Remove the access panel along the passenger-side console by gently pulling it away from the retention tabs, starting at the left corner.
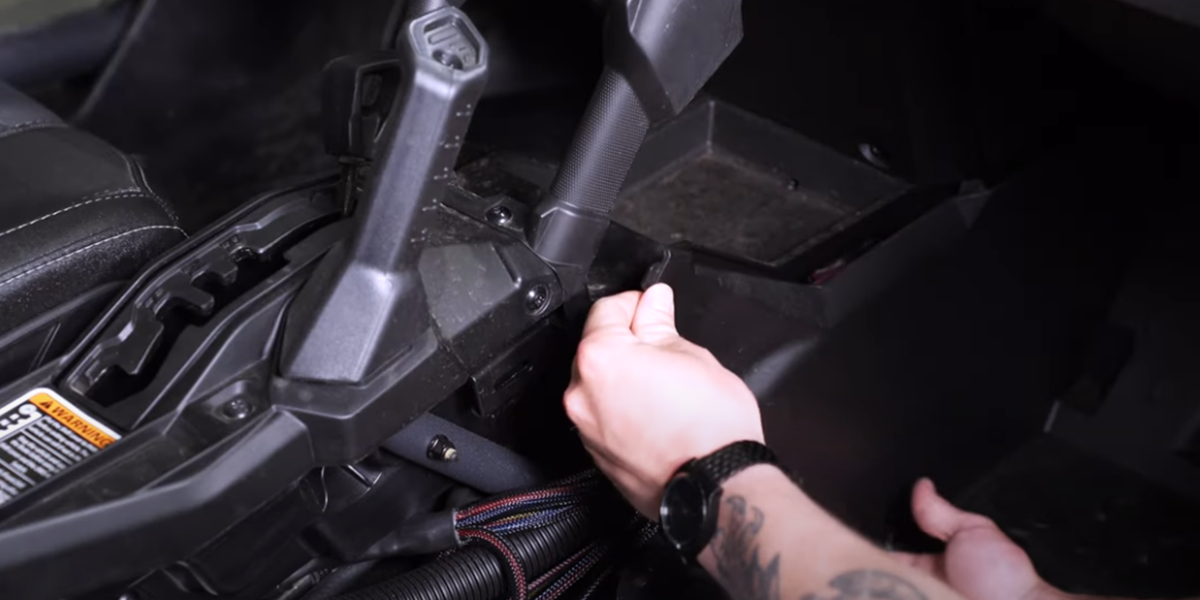
Repeat for the forward-most panel to access the battery.
Step 4 - Connect the Wiring Harness
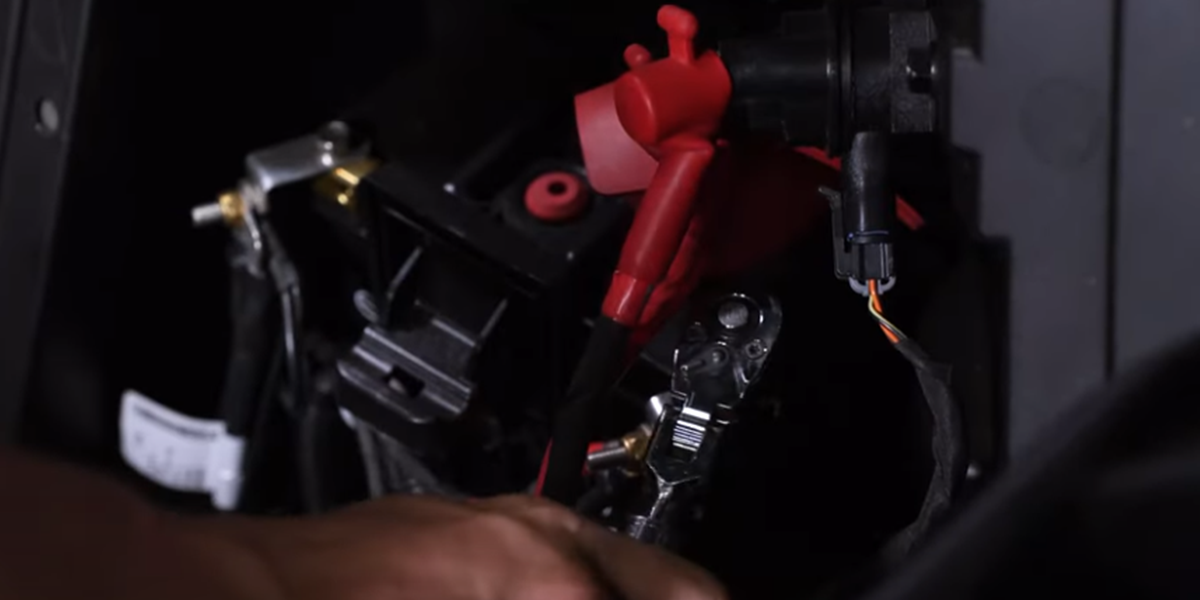
Use a 10mm socket to disconnect the positive lead from the battery and secure it away from the terminal.
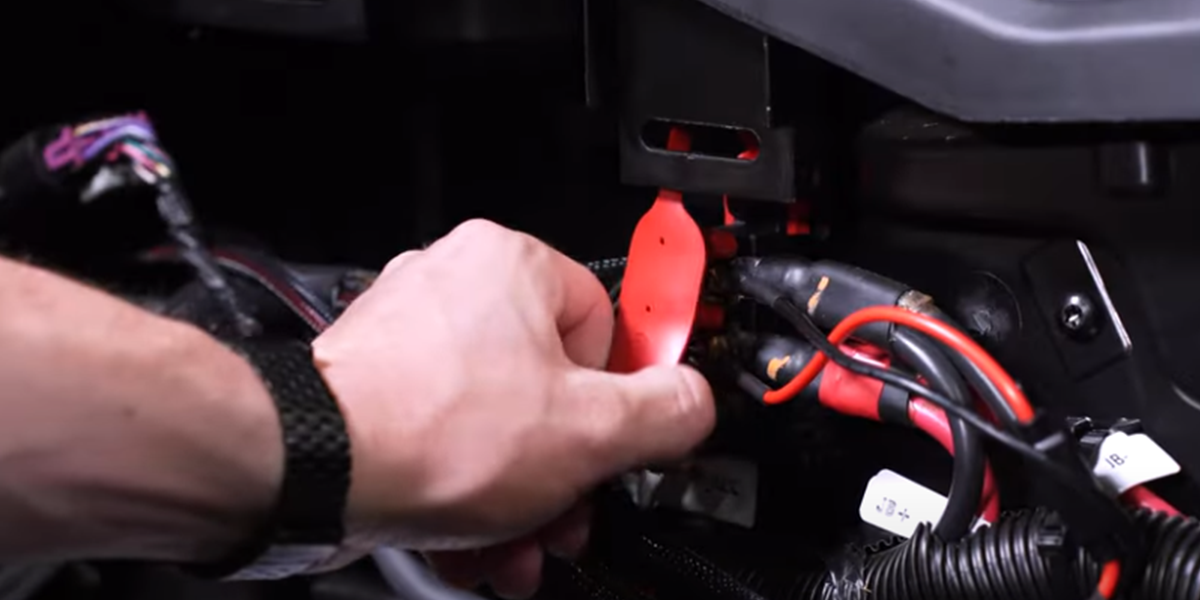
Peel back the rubber cover on the bus bar and use a 10mm ratchet to loosen the positive and negative connections.
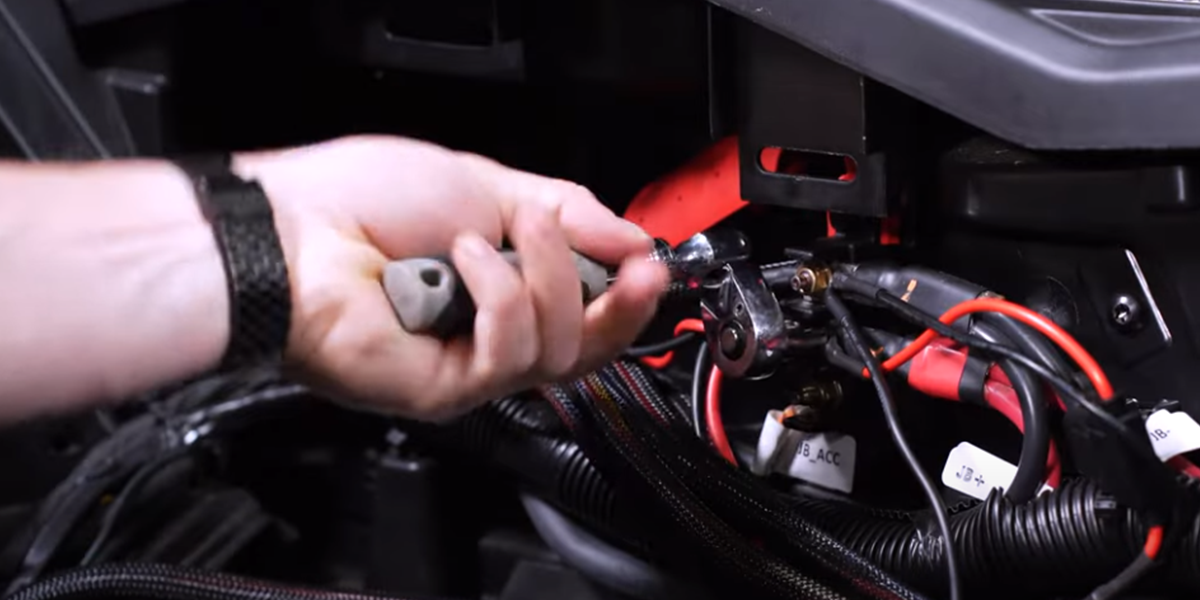
Attach the positive and negative leads from the harness, tighten them securely, and reattach the rubber cover.

Route the switch leads to the desired location, ensuring they avoid moving parts.

Connect your own switch or use the one provided. Confirm functionality before final placement.
Step 5 - Route and Connect the DT Harness
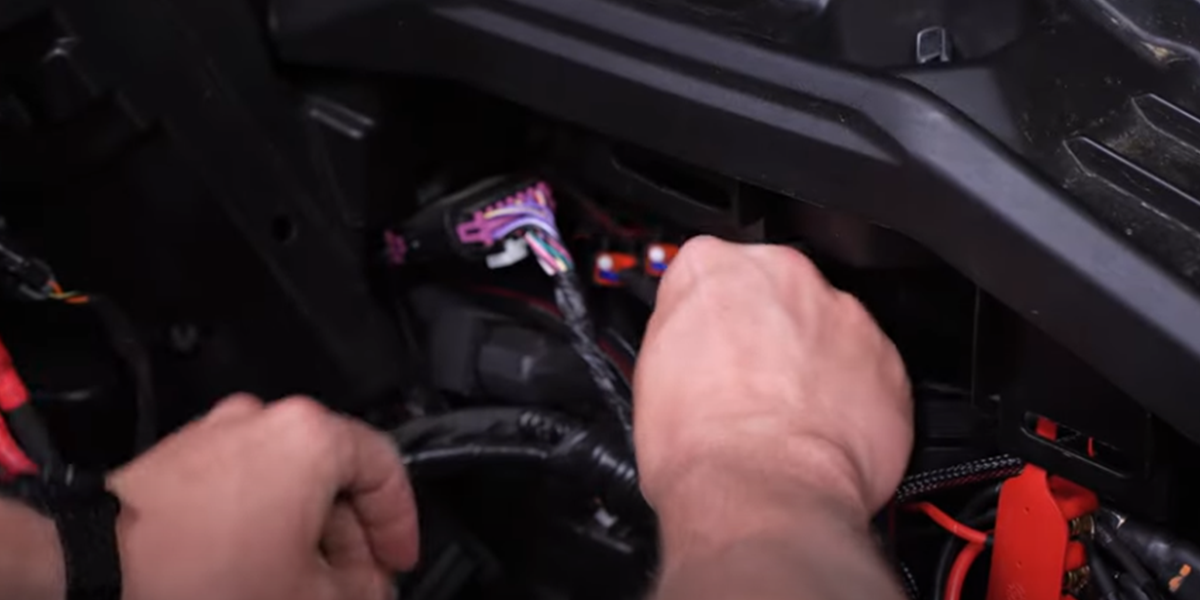
Route the DT connectors through the console toward the rear of the vehicle.

On the driver’s side, pull the connector through the factory harness loom to avoid tangling with any moving or hot parts.
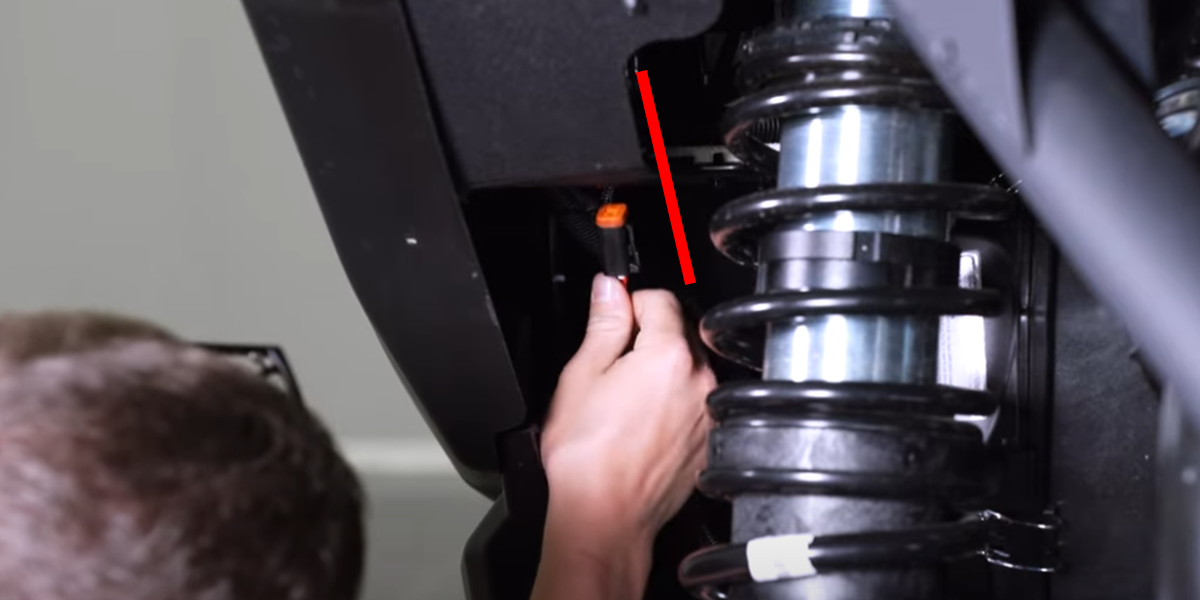
Push the wire through the gap in the protective bracket.
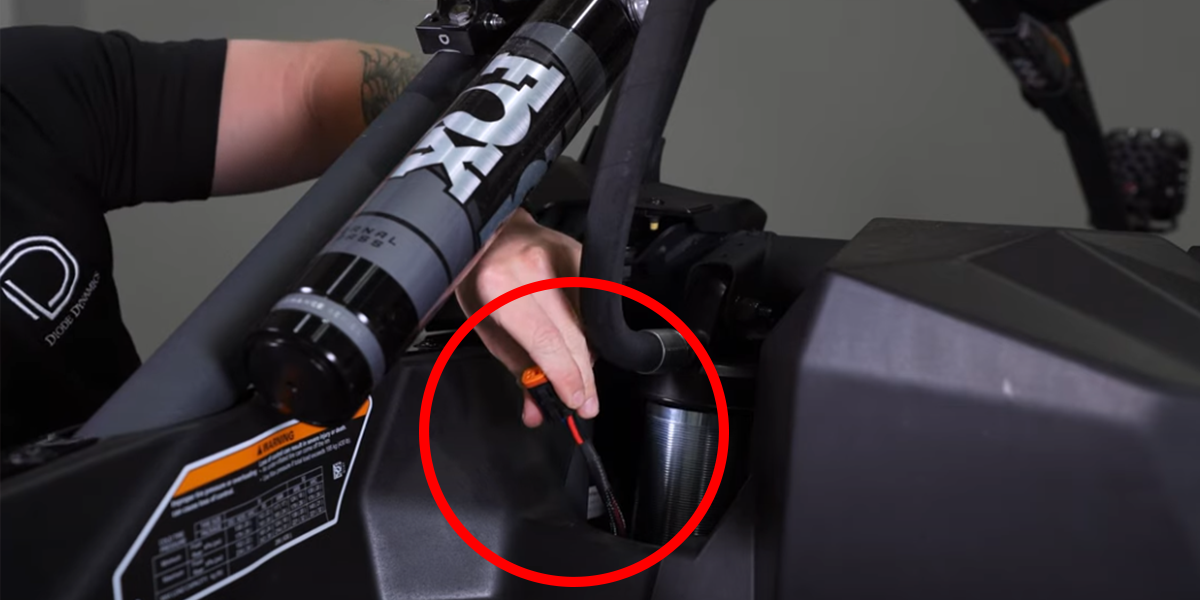
Route it up behind the shock.
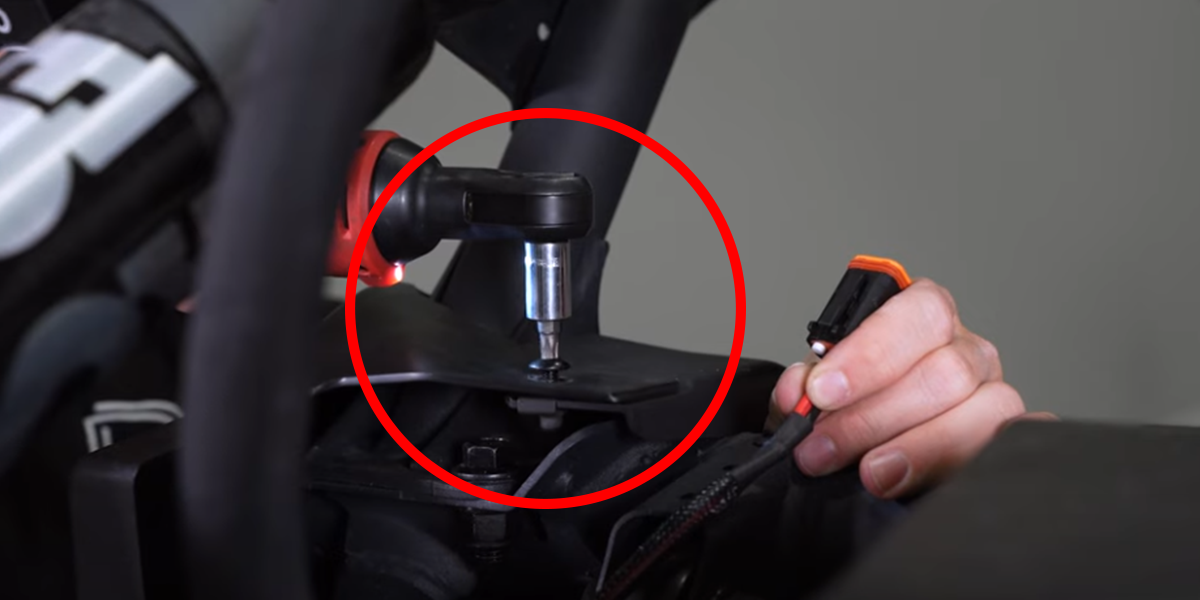
Remove one T30 Torx bolt near the shock to secure the harness.
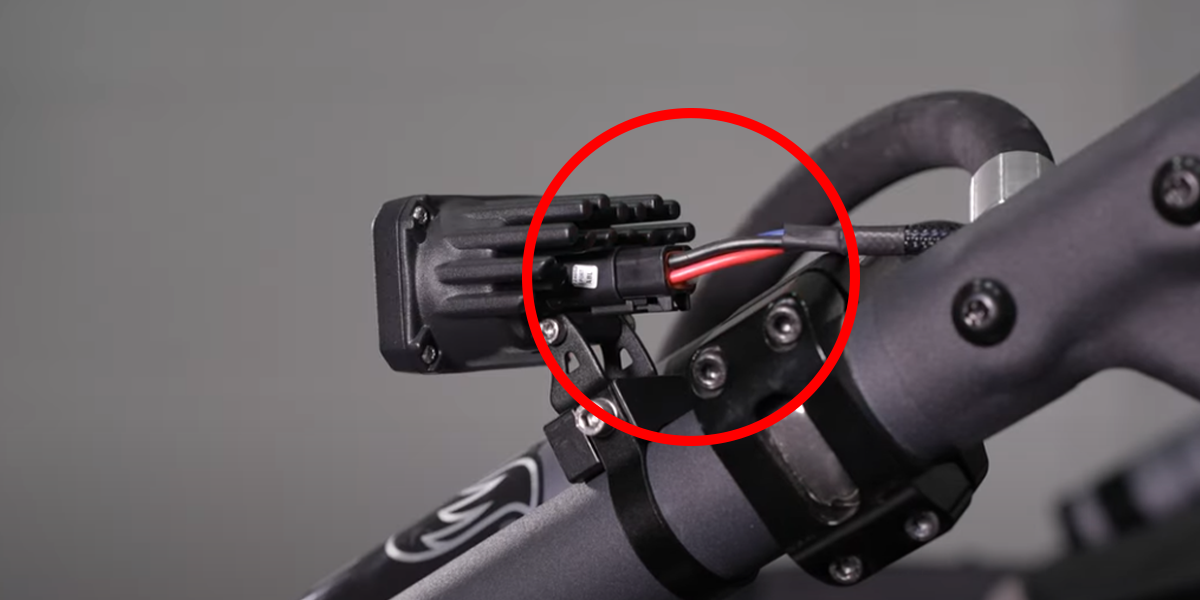
Plug the DT connector into the SSC2 pod and repeat this process for the other side. Ensure all wiring is routed away from hot or moving parts.
Step 6 - Test and Finalize Installation
Reconnect the positive battery lead and test the functionality of the kit.
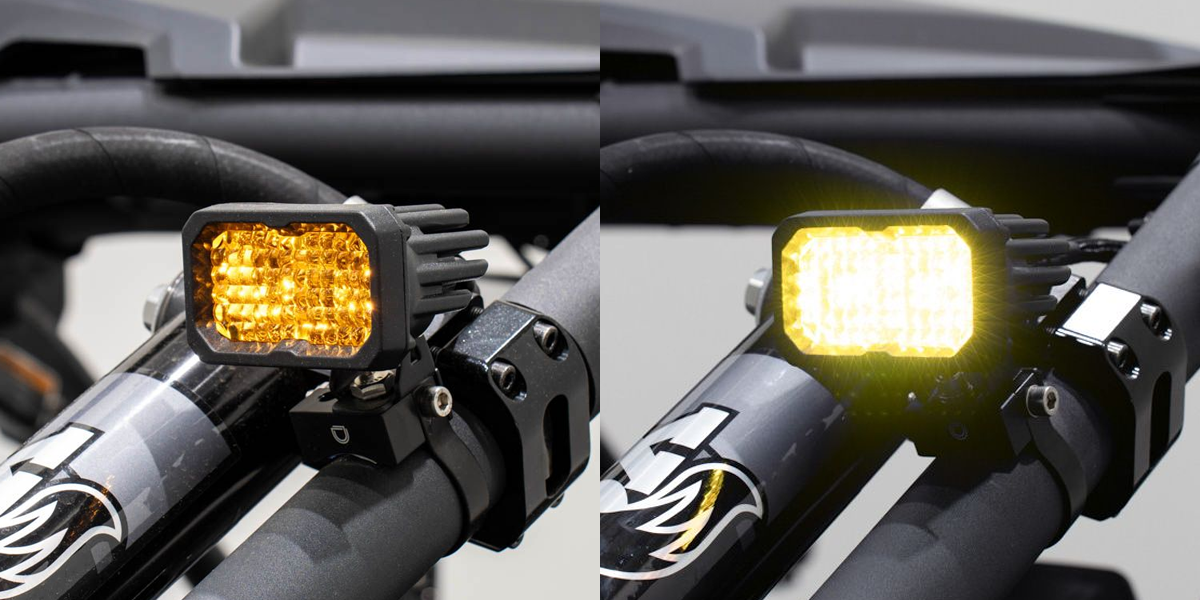
For the Chase Light Kit, confirm that the amber backlight and the main beams are functioning as intended.
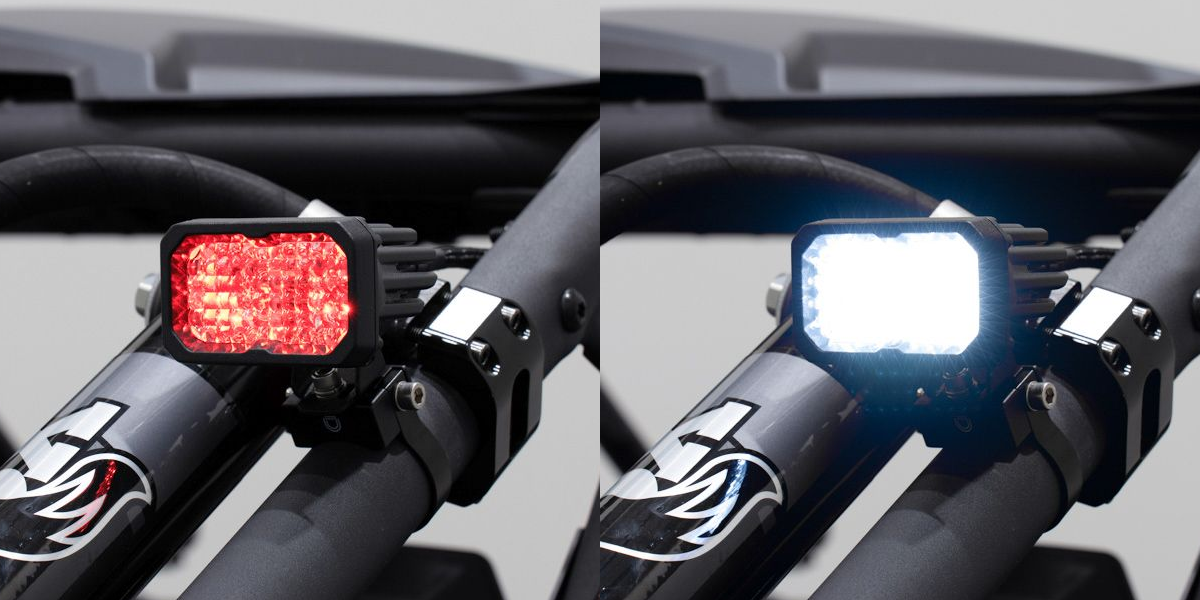
For the Reverse Light Kit, ensure the white reverse light and red running light operate correctly.
Secure any loose wiring with zip ties and reassemble the vehicle by reversing the disassembly steps.
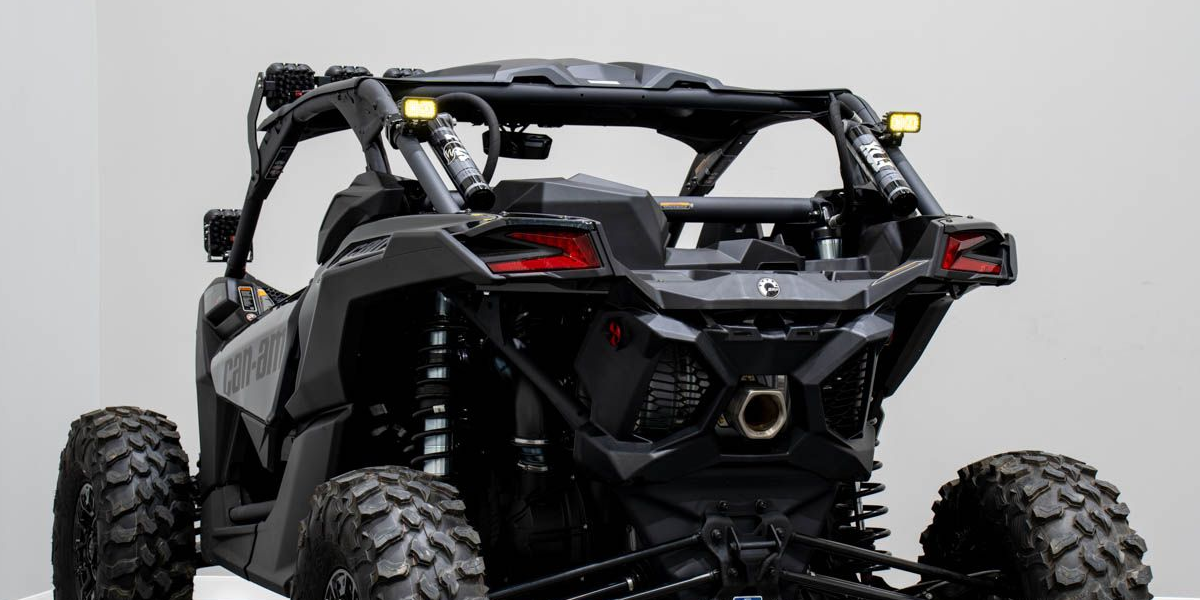
The installation is now complete. Enjoy your new Stage Series Chase or Reverse Light Kit!
Questions About the Installation?
If you have any questions or issues installing the SSC2 Chase Light Kit or SSC2 Reverse Light Kit for the 2017-2025 Can-Am Maverick X3, please contact us for further assistance.
Where Can I Buy a Stage Series Chase or Reverse Light Kit for the 2017-2025 Can-Am Maverick X3?
If you’re ready to upgrade your Can-Am Maverick X3 with an SSC2 Chase Light Kit or SSC2 Reverse Light Kit, you can purchase one directly from our website or use our dealer locator to find a trusted dealer near you.
Looking to take your off-road lighting to the next level? Check out our full range of lighting solutions designed to enhance your X3 here!
Want to know more about Diode Dynamics products? Visit DiodeDynamics.com and subscribe to our newsletter for new product releases and more!
This Installation Guide is for the following SKUs: DD7873, DD7874, DD7872, DD7875, DD7876


Share This Post