The Stage Series A-Pillar Kit for the 2019–2024 Honda Talon provides an unmatched lighting upgrade for your off-road adventures. Designed with versatility and performance in mind, this kit features our powerful Stage Series LED pods, delivering outstanding light output while maintaining a sleek, custom appearance. With its durable stainless steel brackets and high-quality components, this kit is engineered to withstand even the toughest trails.
Whether you're lighting up the trail ahead or adding visibility to your vehicle, the Stage Series A-Pillar Kit is designed to make installation straightforward. This guide will walk you through the entire process. Watch our installation video or continue reading below for step-by-step instructions!
Table of Contents
Installation Video
Tools Required
- 10mm Wrench
- 13mm and 14mm Wrenches
- 5mm Allen Wrench
- Flathead Screwdriver or Trim Removal Tool
- Bubble Level
- Zip Ties
Installation Instructions
Step 1 - Remove the Hood
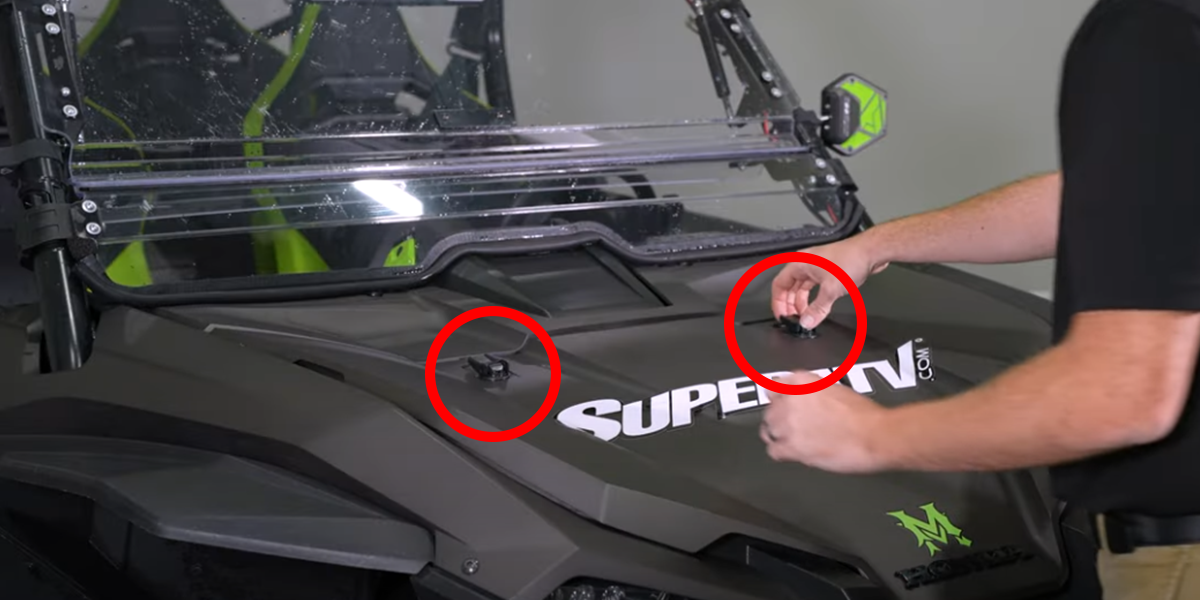
Twist both hood clamps clockwise and lift on the four corners to release the hood. Set it aside.
Step 2 - Remove Fasteners
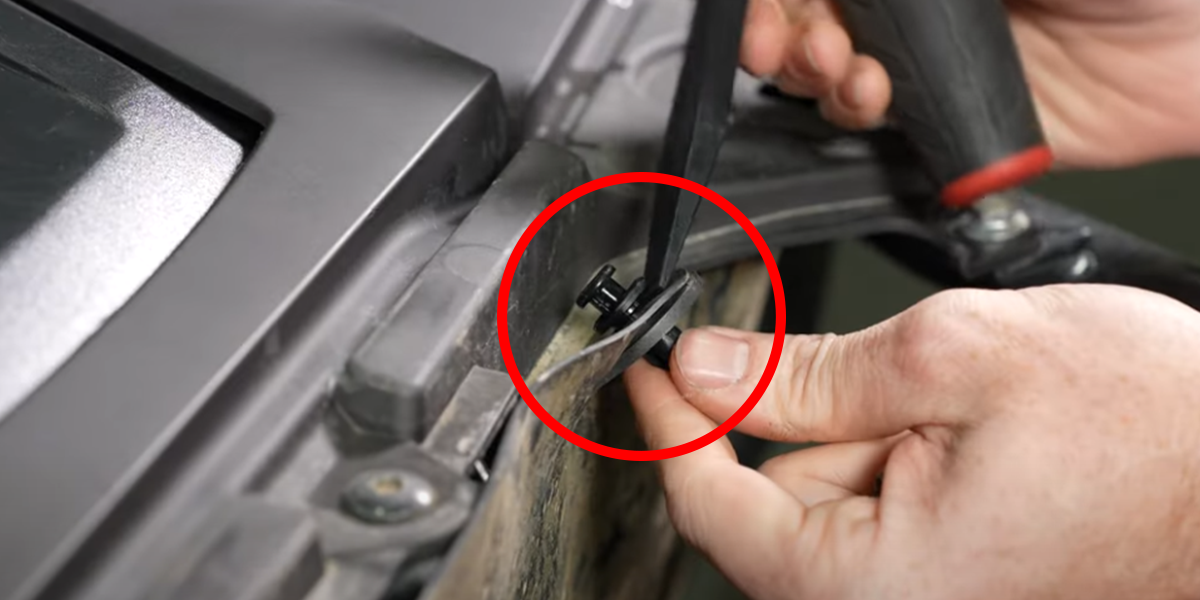
Use a trim removal tool or flathead screwdriver to remove six push clips.
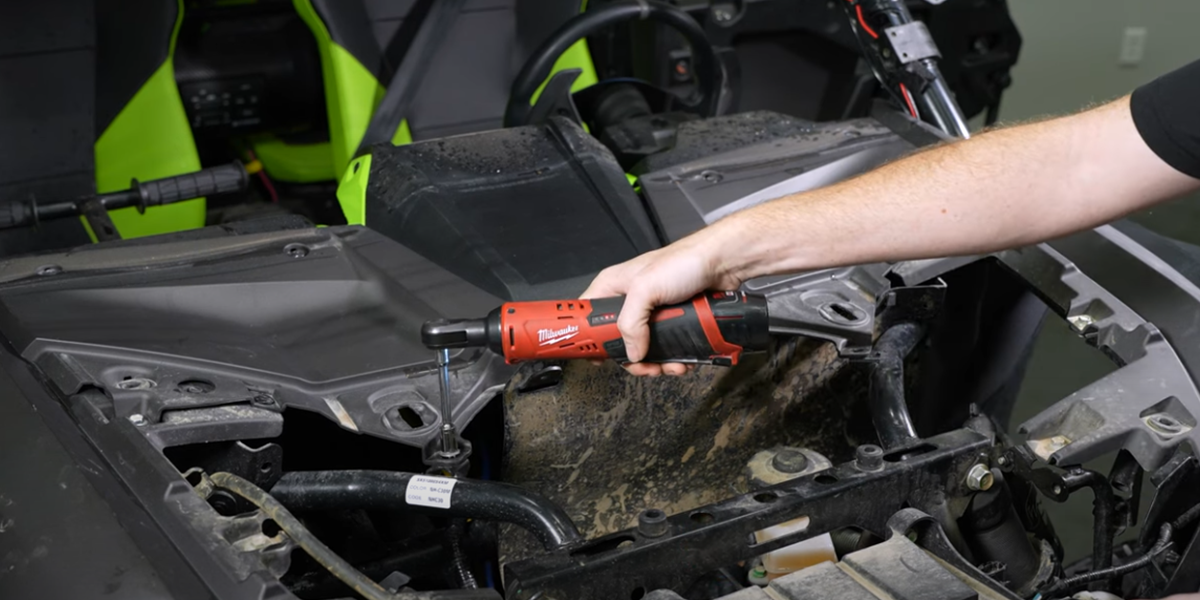
Then, remove four 10mm bolts, five 5mm Allen bolts, and two additional plastic push clips.
Step 3 - Install the A-Pillar Bracket

Starting on either side, remove the top bolt using a 14mm and 13mm wrench.
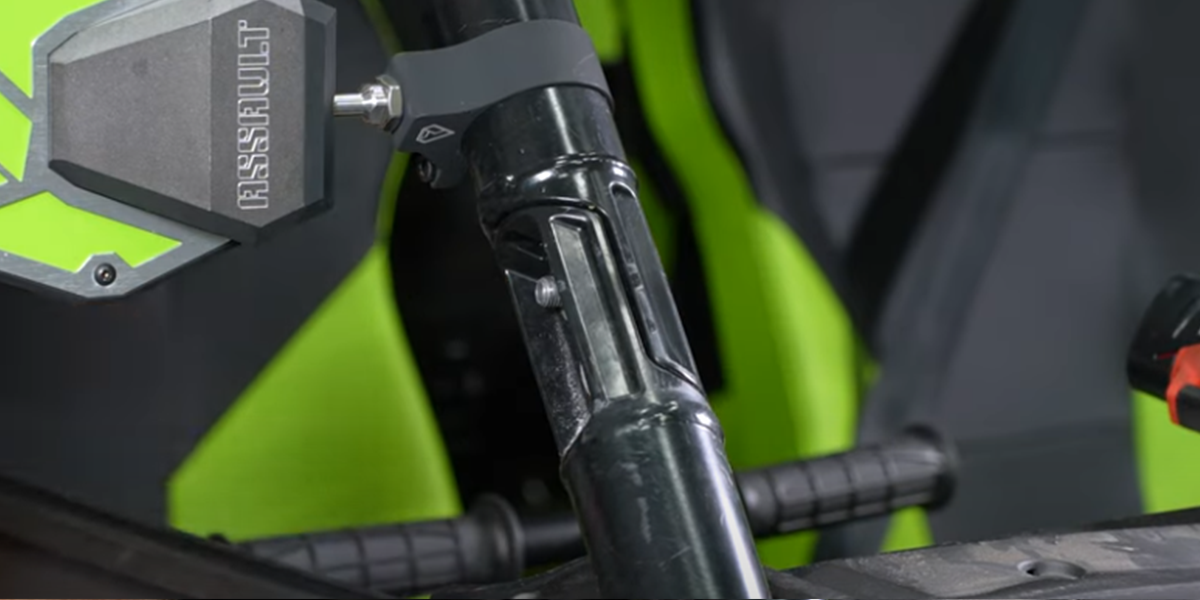
Slide the OEM bolt into the top hole from the inside, then remove the bottom bolt.
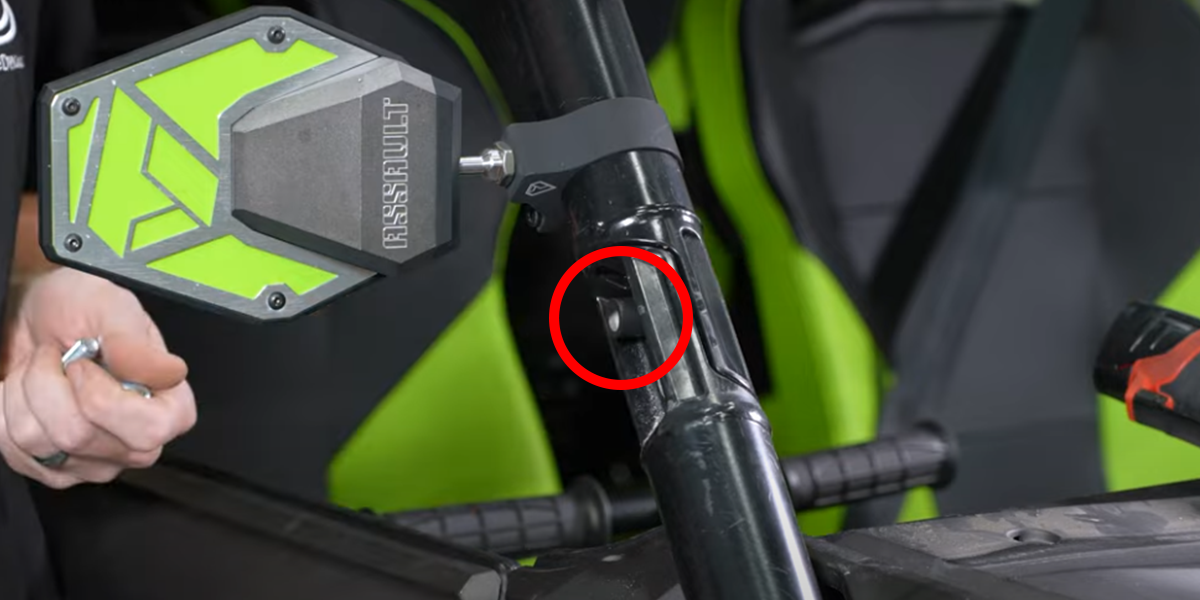
Add the provided spacer to the OEM bolt still in place.
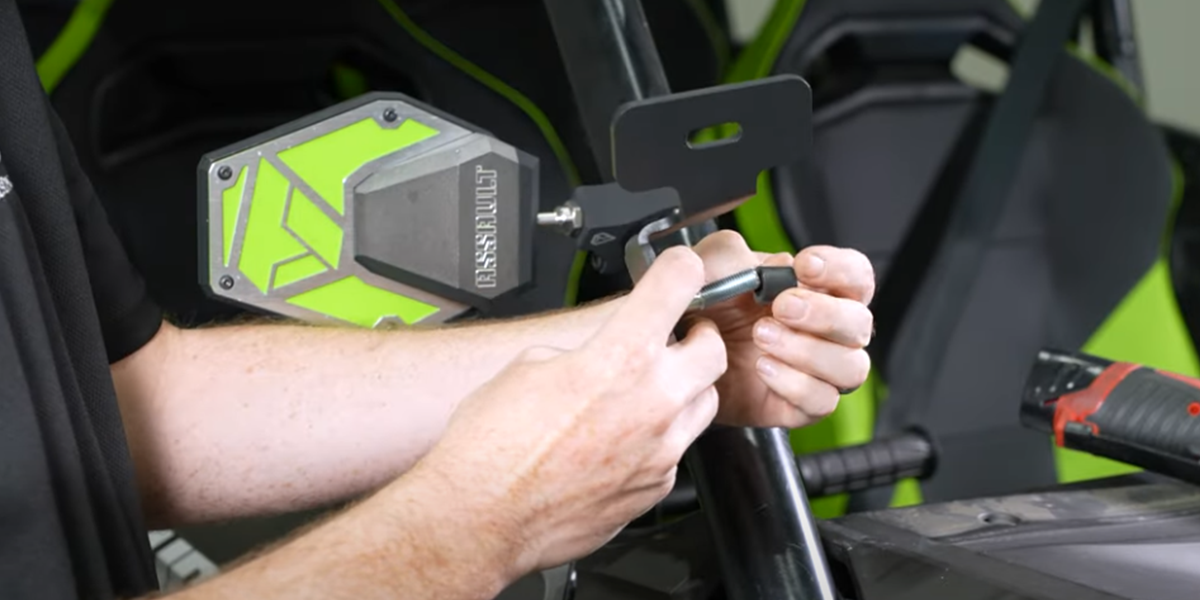
Grab the A-pillar bracket for this side, slide the provided 14mm bolt into the bottom hole followed by the spacer, and install the bracket.
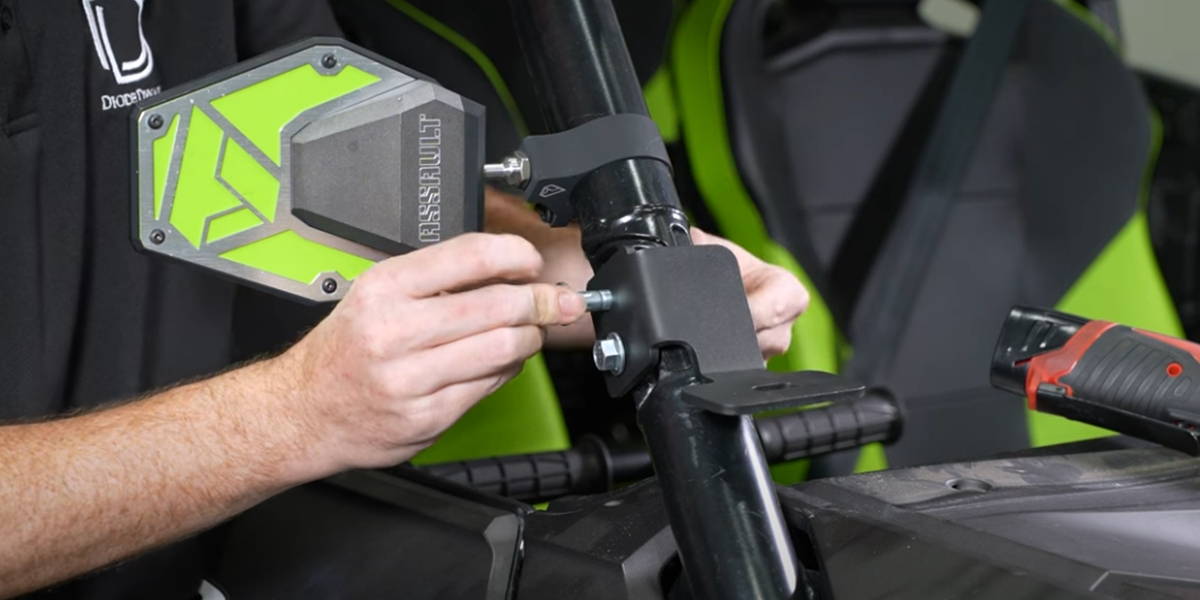
Use the other provided 14mm bolt in the top hole to push out the OEM bolt, retaining the spacer. Secure everything with OEM nuts.
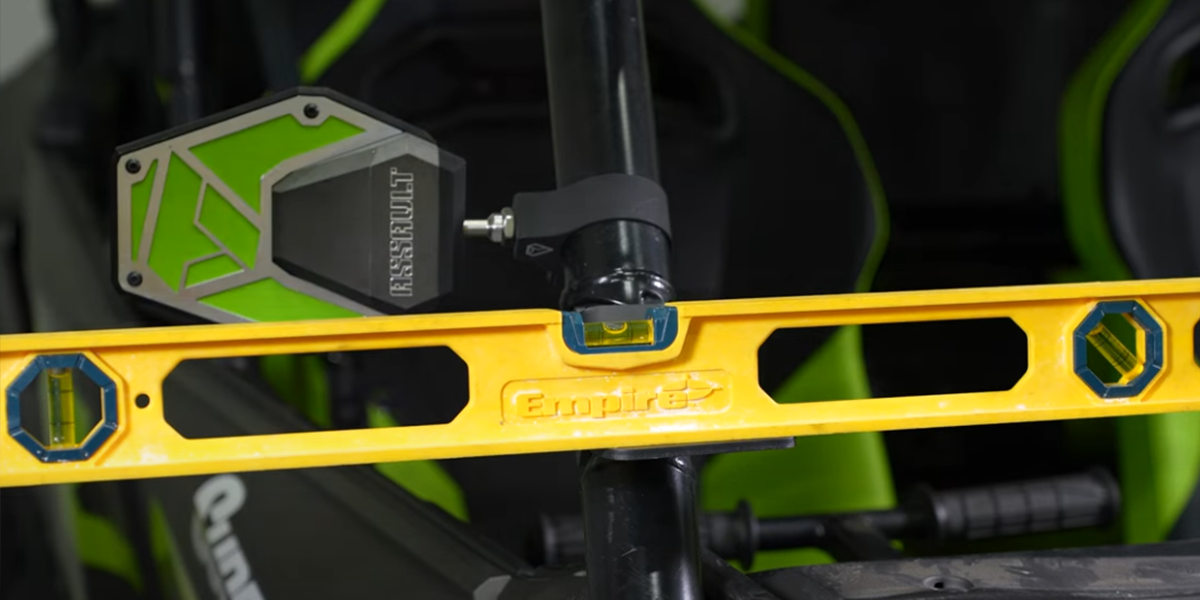
Ensure the bracket is level using a bubble level and adjust as needed. Repeat this step for the other side.
Step 4 - Assemble the Pods
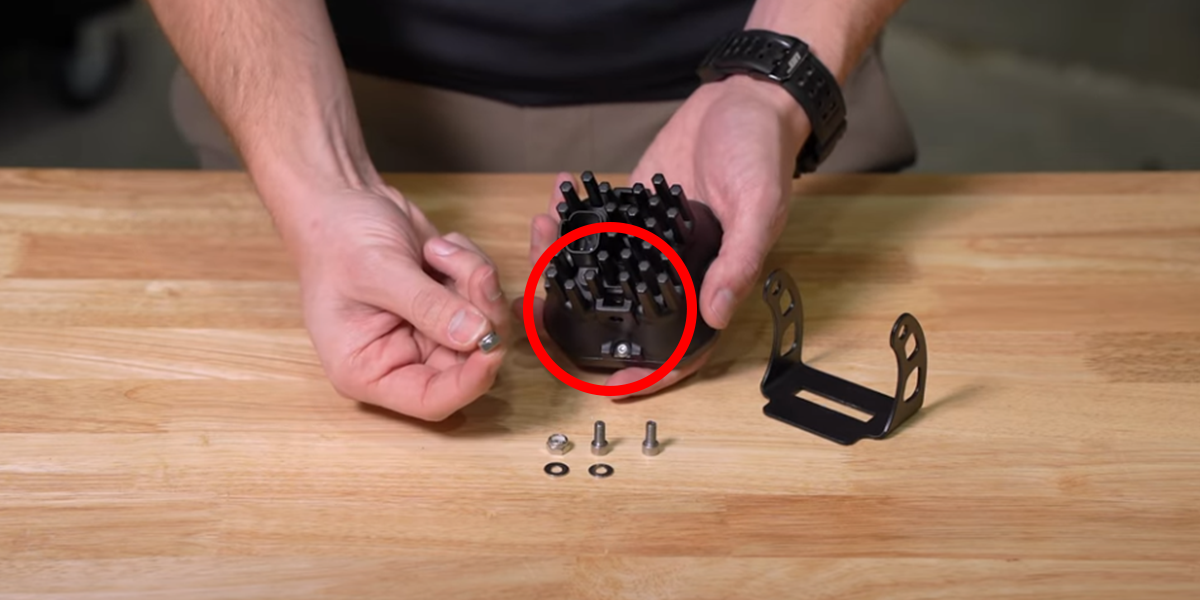
Place a nylon ring on the inside of each pod, then slide the universal bracket over the back.
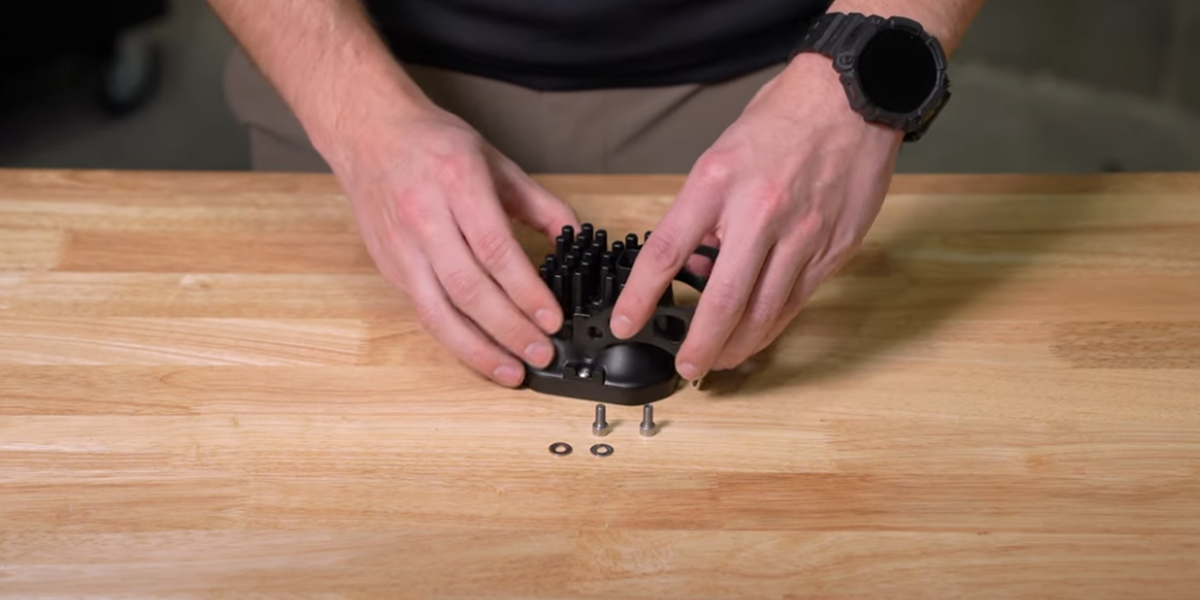
Thread in the provided Allen screws and washers, leaving them hand-tight to allow for adjustments later.
Step 5 - Attach the Pods

Place each pod on the A-pillar platform and attach it using the included carriage bolt, washer, lock washer, and nut. Tighten using a 13mm wrench until secure. Repeat for the other side.
Step 6 - Wire the Harness

At the bus bar, loosen the positive and negative connections using a 10mm wrench. Connect the positive and negative leads from the ditch harness. For a better fit, use pliers to slightly bend the fork at the leads.
Step 7 - Route the Wires
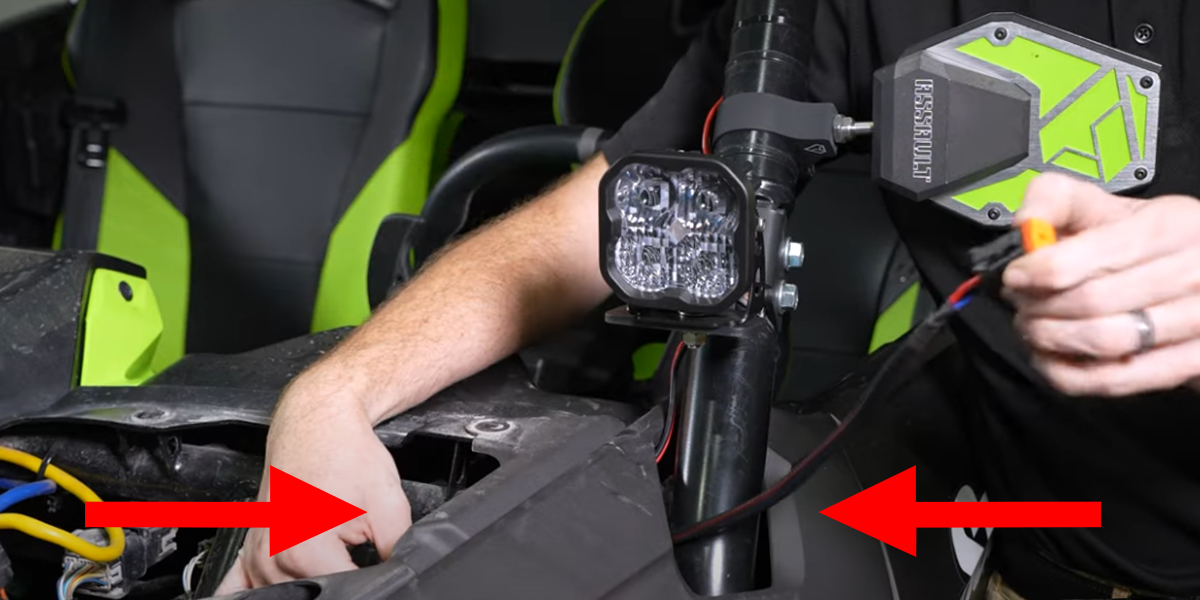
Route the DT leads under each cowl towards the pods, ensuring they are kept away from any hot or moving parts.
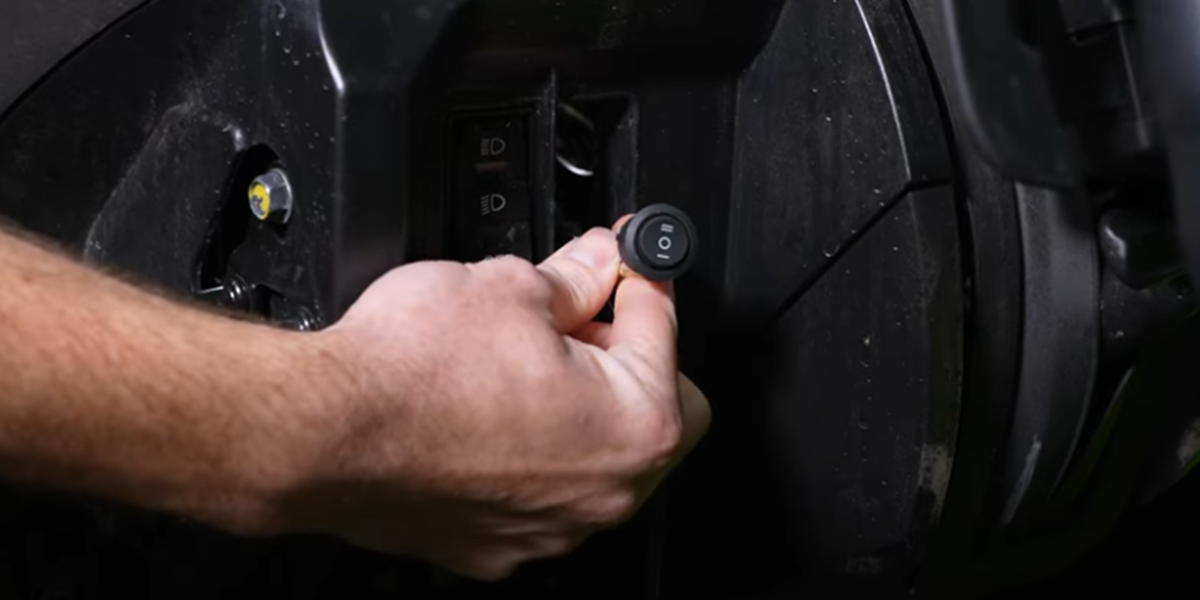
Route the switch to the desired location, such as an extra switch position on the dash, and secure it with zip ties.
Step 8 - Finalize Installation
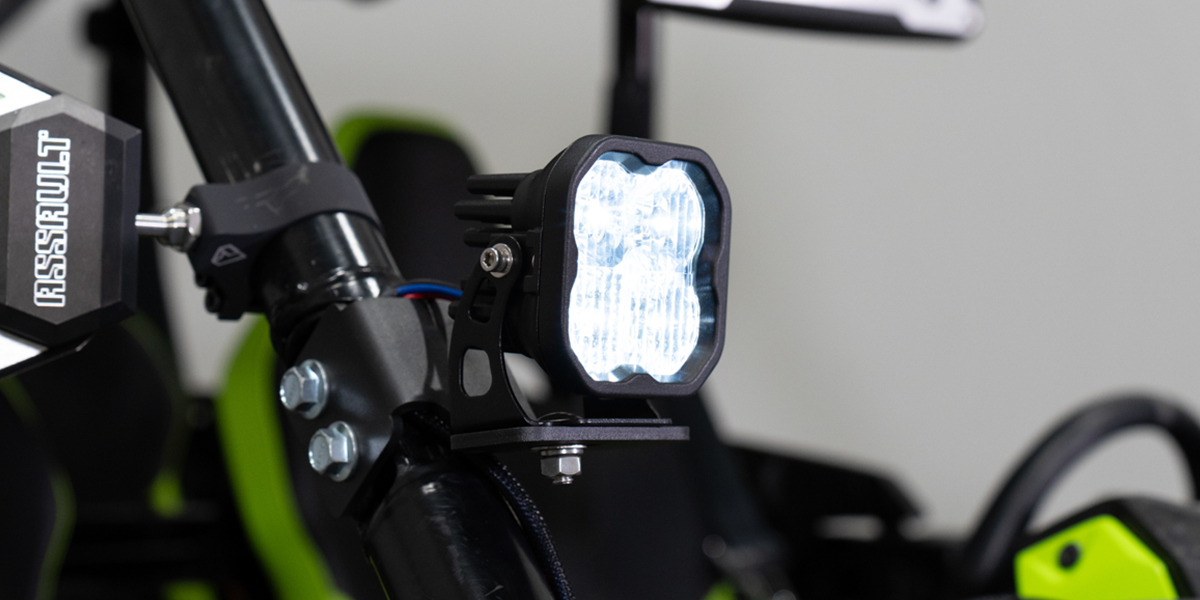
Test the system for functionality. Note that the ignition must be on for the lights to work when wired to the bus bar.
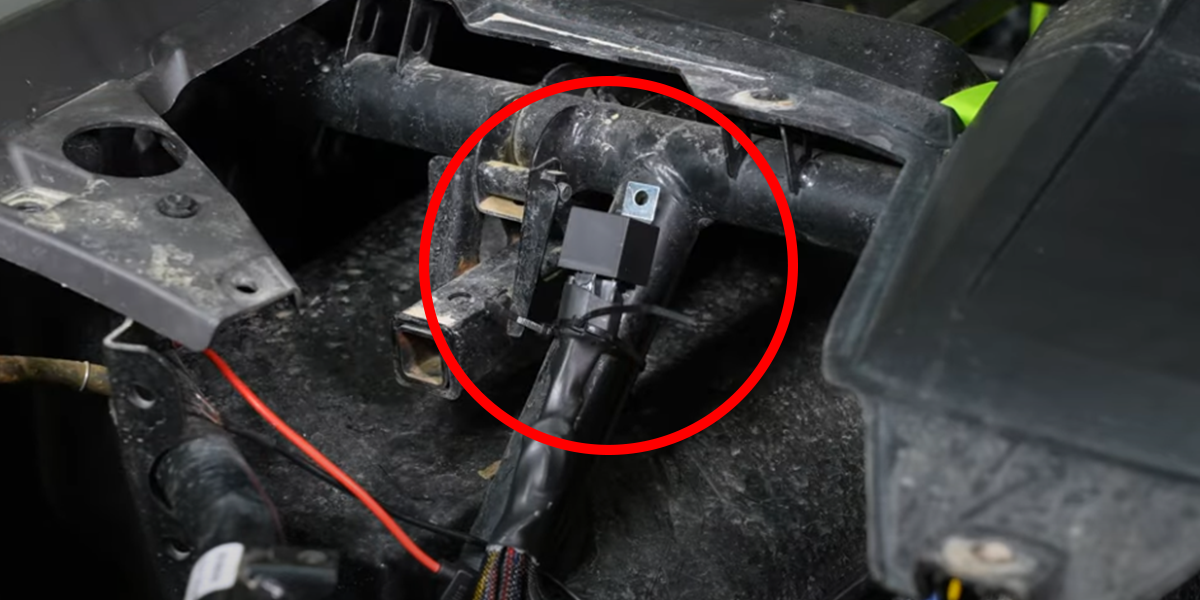
Secure the relay and any loose wiring with zip ties. Reverse the steps used to remove the hood and fasteners to reassemble your Talon.
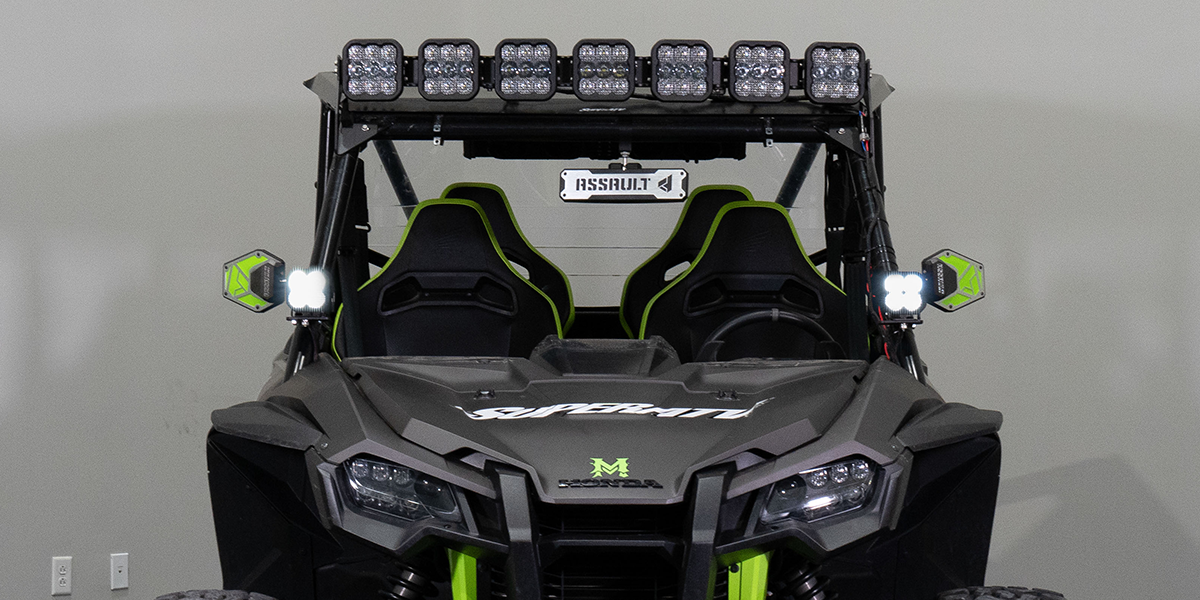
The installation is now complete. Enjoy your new Stage Series A-Pillar Kit!
Questions About the Installation?
If you have any questions about installing the Stage Series A-Pillar Kit for the 2019–2024 Honda Talon, contact us via our support page.
Where Can I Buy the Stage Series A-Pillar Kit for the 2019–2024 Honda Talon?
If you're ready to upgrade your 2019–2024 Honda Talon with the Stage Series A-Pillar Kit, visit DiodeDynamics.com or use our Dealer Locator to find a dealer near you.
Want to know more about Diode Dynamics products? Visit DiodeDynamics.com and subscribe to our newsletter for new product releases and more!
This Installation Guide is for the following SKUs: DD7908, DD7909, DD7910, DD7911, DD7912, DD7913, DD7914, DD7915, DD7907P.


Share This Post